

Before you begin
- Labs create a Google Cloud project and resources for a fixed time
- Labs have a time limit and no pause feature. If you end the lab, you'll have to restart from the beginning.
- On the top left of your screen, click Start lab to begin
Create Docker Container with Google Cloud Build
/ 20
Deploy Container To Cloud Run
/ 20
Create new revision with lower concurrency
/ 20
Make Changes To The Website
/ 20
Update website with zero downtime
/ 20
Running websites can be difficult with creating and managing VMs, clusters, pods, services, etc. This is fine for larger, multi-tiered applications, but if you are just trying to get your website deployed and visible, it's a lot of overhead.
With Cloud Run, Google Cloud's implementation of Google's Knative framework, you can manage and deploy your website without any of the infrastructure overhead you experience with a VM or pure Kubernetes-based deployments. Not only is this a simpler approach from a management perspective, it also gives you the ability to "scale to zero" when there are no requests coming into your website.
Cloud Run brings "serverless" development to containers and can be run either on your own Google Kubernetes Engine (GKE) clusters or on a fully managed PaaS solution provided by Cloud Run. You will be running the latter scenario in this lab.
The exercises are ordered to reflect a common cloud developer experience:
In this lab you will learn how to:
Read these instructions. Labs are timed and you cannot pause them. The timer, which starts when you click Start Lab, shows how long Google Cloud resources are made available to you.
This hands-on lab lets you do the lab activities in a real cloud environment, not in a simulation or demo environment. It does so by giving you new, temporary credentials you use to sign in and access Google Cloud for the duration of the lab.
To complete this lab, you need:
Click the Start Lab button. If you need to pay for the lab, a dialog opens for you to select your payment method. On the left is the Lab Details pane with the following:
Click Open Google Cloud console (or right-click and select Open Link in Incognito Window if you are running the Chrome browser).
The lab spins up resources, and then opens another tab that shows the Sign in page.
Tip: Arrange the tabs in separate windows, side-by-side.
If necessary, copy the Username below and paste it into the Sign in dialog.
You can also find the Username in the Lab Details pane.
Click Next.
Copy the Password below and paste it into the Welcome dialog.
You can also find the Password in the Lab Details pane.
Click Next.
Click through the subsequent pages:
After a few moments, the Google Cloud console opens in this tab.

Cloud Shell is a virtual machine that is loaded with development tools. It offers a persistent 5GB home directory and runs on the Google Cloud. Cloud Shell provides command-line access to your Google Cloud resources.
Click Activate Cloud Shell 
Click through the following windows:
When you are connected, you are already authenticated, and the project is set to your Project_ID,
gcloud is the command-line tool for Google Cloud. It comes pre-installed on Cloud Shell and supports tab-completion.
Output:
Output:
gcloud, in Google Cloud, refer to the gcloud CLI overview guide.
Since you are deploying an existing website, you just need to clone the source, so you can focus on creating Docker images and deploying to Cloud Run.
This will take a few minutes to run. You will see a success message when it finishes.
Output:
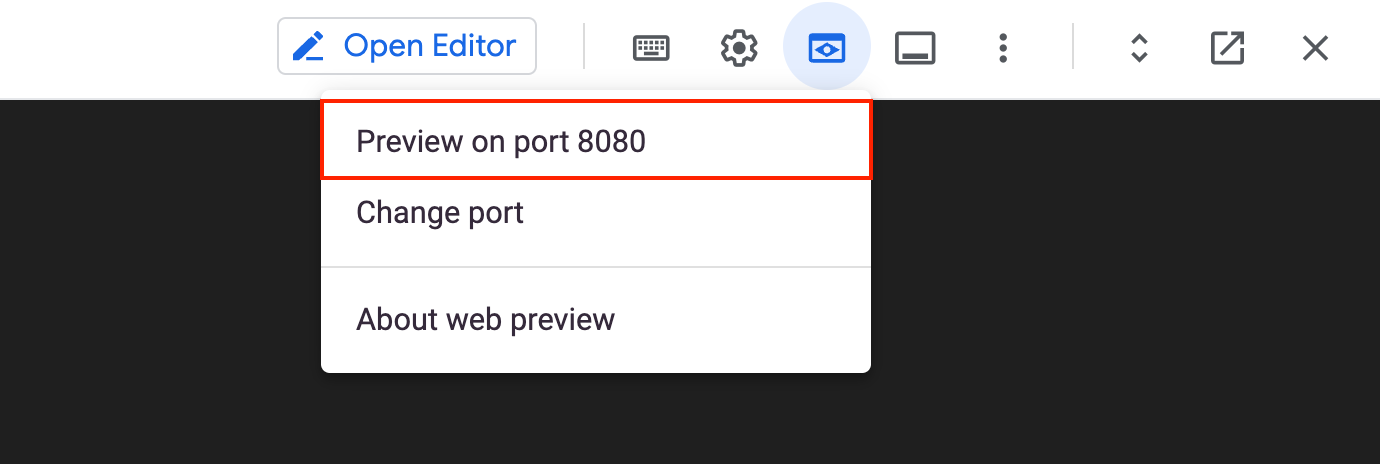
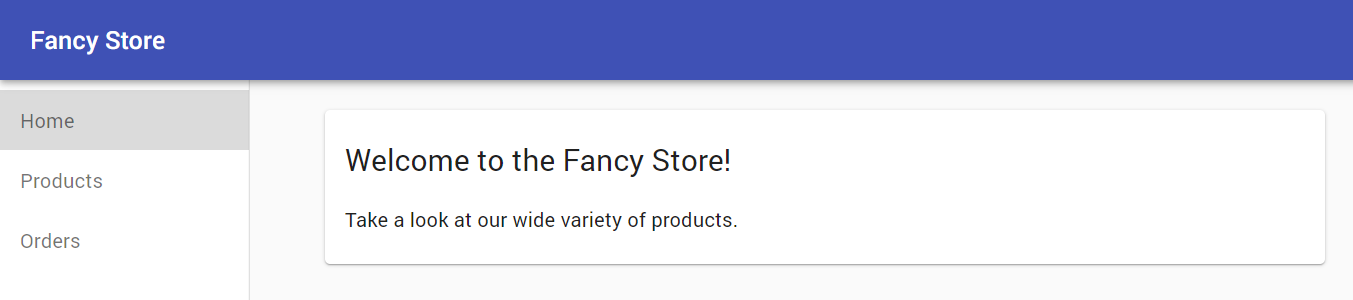
This should open a new window where you can see your Fancy Store web page in action.
Now that you have the source files ready to go, it is time to Dockerize your application!
Normally you would have to take a two step approach that entails building a docker container and pushing it to a registry to store the image for GKE to pull from. Cloud Build let's you build the Docker container and put the image in Artifact Registry with a single command!
Cloud Build will compress the files from the directory and move them to a Cloud Storage bucket. The build process will then take all the files from the bucket and use the Dockerfile, which is present in the same directory, to run the Docker build process.
You must create a repository before you can push any images to it. Pushing an image can't trigger creation of a repository and the Cloud Build service account does not have permissions to create repositories.
In the console, search for Artifact Registry in the search field, then click on Artifact Registry result.
Click Create Repository.
Specify monolith-demo as the repository name.
Choose Docker as the format.
Under Location Type, select Region and then choose the location
Click Create.
Before you can push or pull images, configure Docker to use the Google Cloud CLI to authenticate requests to Artifact Registry.
The command updates your Docker configuration. You can now connect with Artifact Registry in your Google Cloud project to push and pull images.
You will now deploy the image that was built earlier.
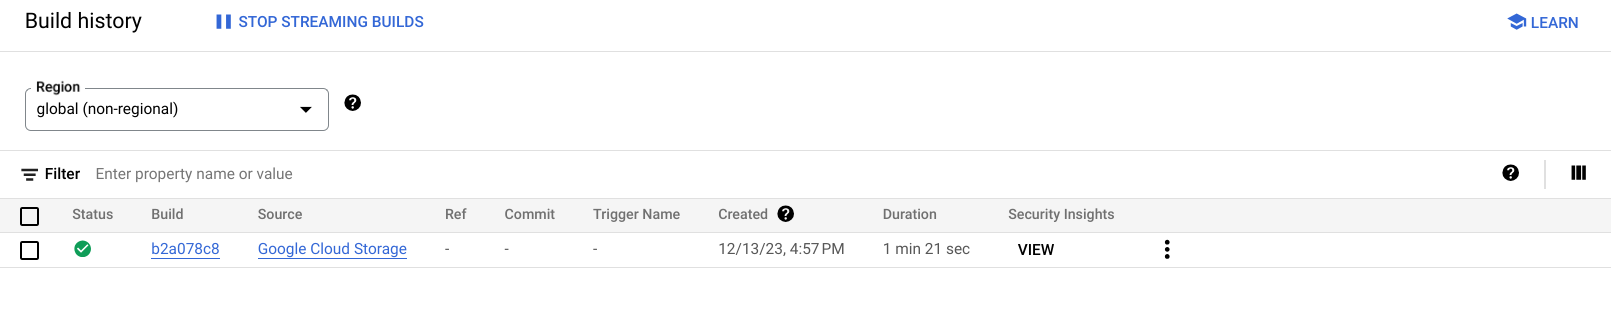
If you click on the Build ID, you can see all the details for that build including the log output.
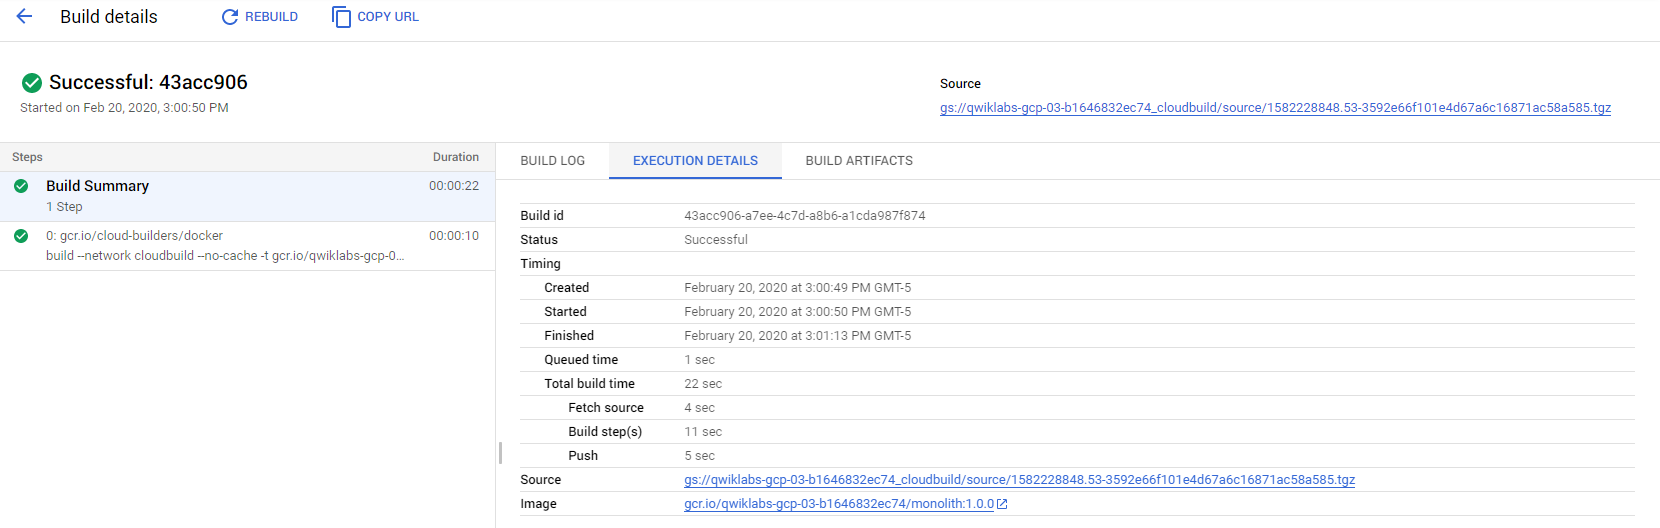
From the Build Details page you can view the container image that was created by clicking the Execution Details tab, then clicking on on the image link.
Click Check my progress to verify the objective.
Now that you have containerized your website and pushed the container to Artifact Registry, it is time to deploy to Cloud Run!
There are two approaches for deploying to Cloud Run:
[monolith] type Y.Click Check my progress to verify the objective.
Output:
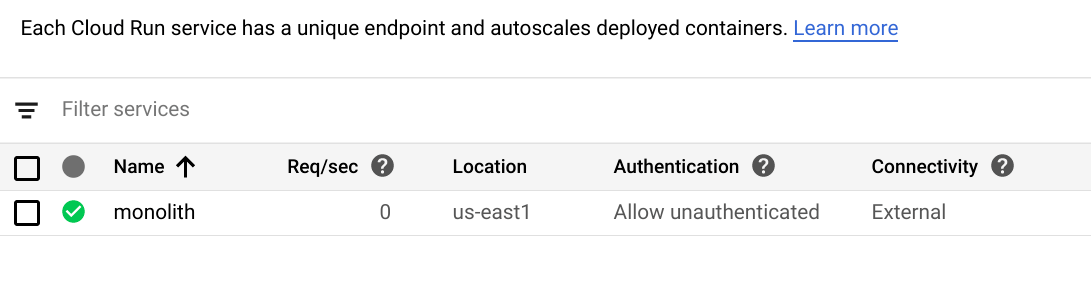
This output shows several things. You can see the deployment, as well as the user that deployed it (your email) and the URL you can use to access the app. Looks like everything was created successfully!
In this section you will deploy your application again, but this time adjusting one of the parameters.
By default, a Cloud Run application will have a concurrency value of 80, meaning that each container instance will serve up to 80 requests at a time. This is a big departure from the Functions-as-a-Service model, where one instance handles one request at a time.
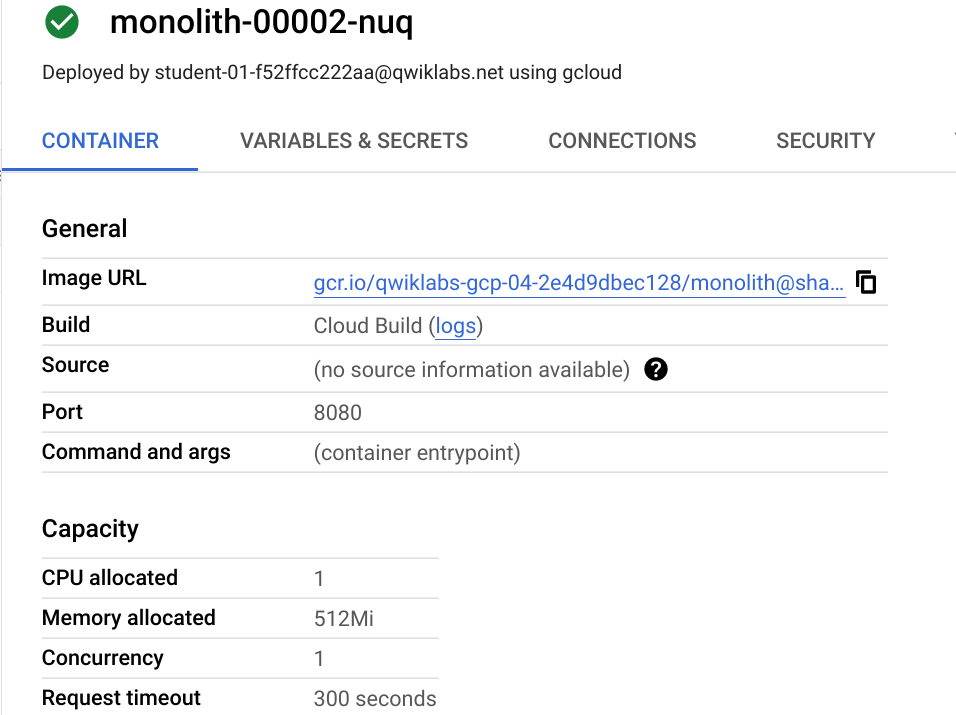
The most recent deployment has Details on the right hand side.
You will see that the concurrency value has been reduced to "1".
Although this configuration is sufficient for testing, in most production scenarios you will have containers supporting multiple concurrent requests.
Click Check my progress to verify the objective.
Next, you can restore the original concurrency without re-deploying. You could set the concurrency value back to the default of "80", or you could just set the value to "0", which will remove any concurrency restrictions and set it to the default max (which happens to be 80).
80:You will notice that another revision has been created, that traffic has now been redirected, and that the concurrency is back up to 80.
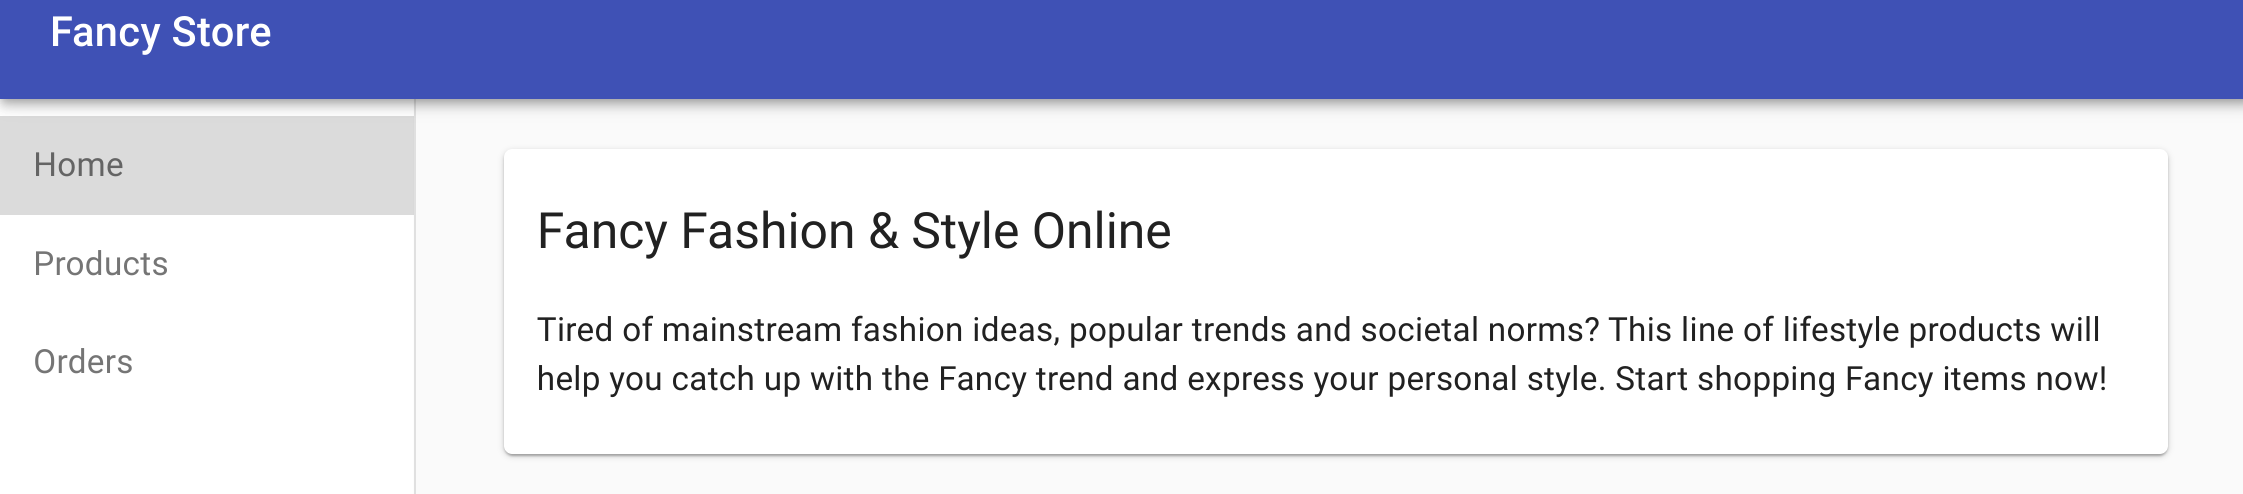
Scenario: Your marketing team has asked you to change the homepage for your site. They think it should be more informative of who your company is and what you actually sell.
Task: You will add some text to the homepage to make the marketing team happy! It looks like one of our developers already created the changes with the file name index.js.new. You can just copy this file to index.js and your changes should be reflected. Follow the instructions below to make the appropriate changes.
The resulting code should look like this:
You updated the React components, but you need to build the React app to generate the static files.
Now that the code is updated, rebuild the Docker container and publish it to Artifact Registry. You can use the same command as before, except this time you will update the version label.
In the next section you will use this image to update your application with zero downtime.
Click Check my progress to verify the objective.
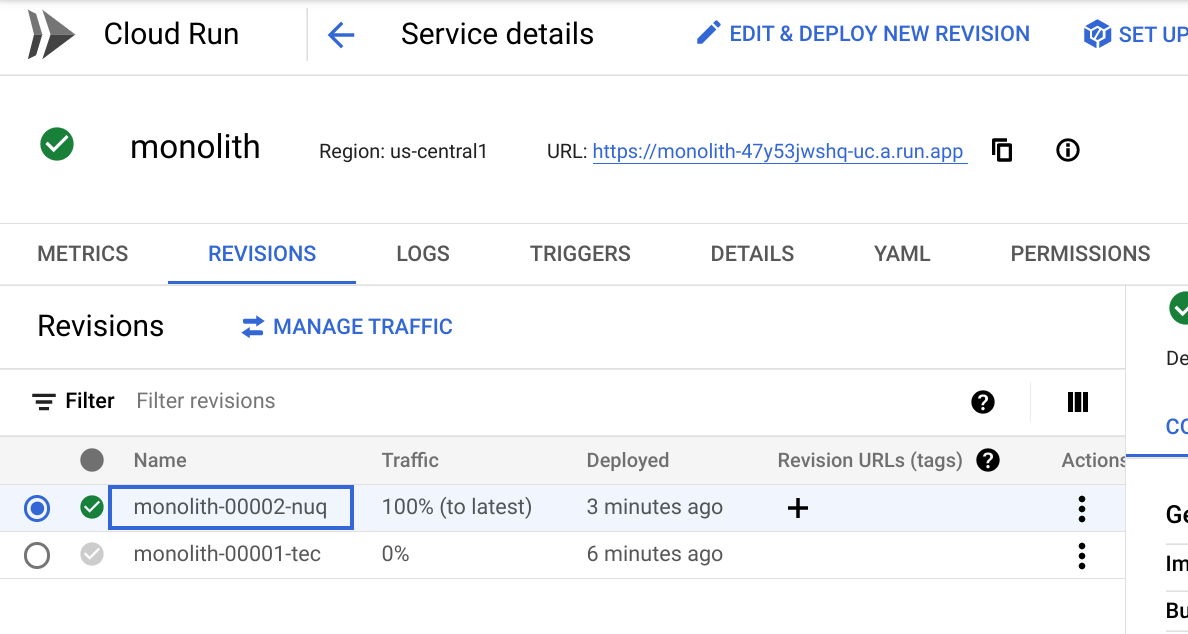
The changes are complete and the marketing team is happy with your updates! It is time to update the website without interruption to the users. Cloud Run treats each deployment as a new Revision which will first be brought online, then have traffic redirected to it.
By default the latest revision will be assigned 100% of the inbound traffic for a service. It is possible to use "Routes" to allocate different percentages of traffic to different revisions within a service. Follow the instructions below to update your website.
Click Check my progress to verify the objective.
Output:
Here you will see that the Service is now using the latest version of your image, deployed in a new revision.
To verify the changes, navigate to the external URL of the Cloud Run service, refresh the page, and notice that the application title has been updated.
You successfully deployed, de-scaled, re-scaled, and updated your website on Cloud Run.
If you're not familiar with these products, here are links to learn more:
Manual Last Updated: June 9, 2024
Lab Last Tested: June 9, 2024
Copyright 2025 Google LLC All rights reserved. Google and the Google logo are trademarks of Google LLC. All other company and product names may be trademarks of the respective companies with which they are associated.


This content is not currently available
We will notify you via email when it becomes available

Great!
We will contact you via email if it becomes available

One lab at a time
Confirm to end all existing labs and start this one