Checkpoints
Enable cloud service
/ 30
Create an instance of AI Platform Pipelines
/ 10
Create an instance of Cloud AI Platform Notebooks.
/ 10
Clone the example repo within AI Platform Notebooks instance
/ 5
Configure and run CsvExampleGen
/ 10
Create and run training component
/ 10
TFX Standard Components Walkthrough
Overview
In this lab, you will work with the Covertype Data Set and use TFX to analyze, understand, and pre-process the dataset and train, analyze, validate, and deploy a multi-class classification model to predict the type of forest cover from cartographic features.
Objectives
- Develop a high level understanding of TFX pipeline components.
- Learn how to use a TFX Interactive Context for prototype development of TFX pipelines.
- Work with the Tensorflow Data Validation (TFDV) library to check and analyze input data.
- Utilize the Tensorflow Transform (TFT) library for scalable data preprocessing and feature transformations.
- Employ the Tensorflow Model Analysis (TFMA) library for model evaluation.
Setup
For each lab, you get a new Google Cloud project and set of resources for a fixed time at no cost.
-
Sign in to Qwiklabs using an incognito window.
-
Note the lab's access time (for example,
1:15:00), and make sure you can finish within that time.
There is no pause feature. You can restart if needed, but you have to start at the beginning. -
When ready, click Start lab.
-
Note your lab credentials (Username and Password). You will use them to sign in to the Google Cloud Console.
-
Click Open Google Console.
-
Click Use another account and copy/paste credentials for this lab into the prompts.
If you use other credentials, you'll receive errors or incur charges. -
Accept the terms and skip the recovery resource page.
Activate Cloud Shell
Cloud Shell is a virtual machine that contains development tools. It offers a persistent 5-GB home directory and runs on Google Cloud. Cloud Shell provides command-line access to your Google Cloud resources. gcloud is the command-line tool for Google Cloud. It comes pre-installed on Cloud Shell and supports tab completion.
-
Click the Activate Cloud Shell button (
) at the top right of the console.
-
Click Continue.
It takes a few moments to provision and connect to the environment. When you are connected, you are also authenticated, and the project is set to your PROJECT_ID.
Sample commands
- List the active account name:
(Output)
(Example output)
- List the project ID:
(Output)
(Example output)
Task 1. Enable Cloud Services
- In Cloud Shell, run the command below to set the project id to your Google Cloud Project:
- Next, execute the following commands to enable the required cloud services:
- Next, add the Editor permission for your Cloud Build service account:
- Now, create a custom service account to give CAIP training job access to AI Platform Vizier service for pipeline hyperparameter tuning:
- Grant your AI Platform service account additional access permissions to the AI Platform Vizier service for pipeline hyperparameter tuning:
- Grant service account access to Storage admin role:
- Grant service acount access to AI Platform Vizier role:
- Grant your project's AI Platform Google-managed service account the Service Account Admin role for your AI Platform service account:
Click Check my progress to verify the objective.
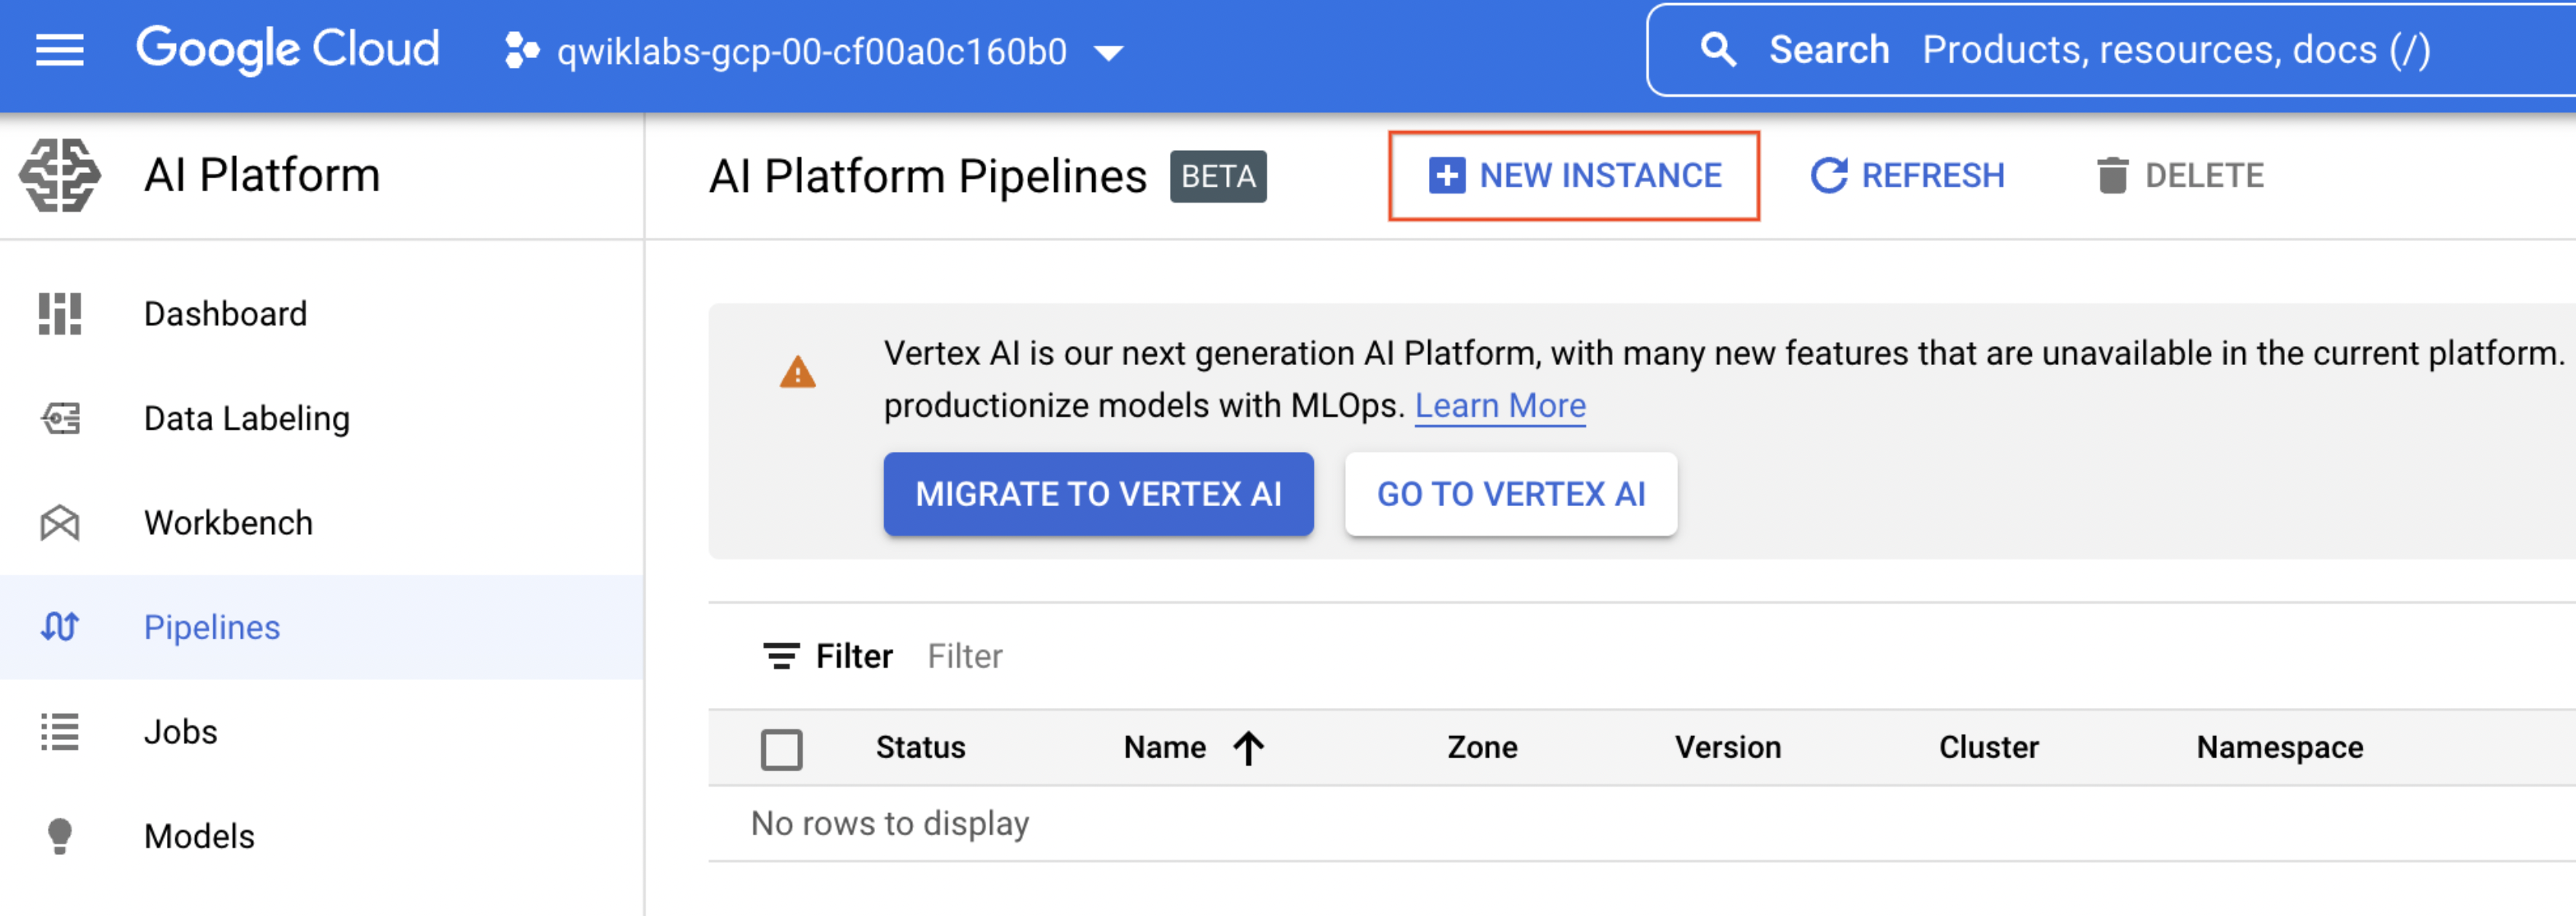
Task 2. Create an instance of AI Platform Pipelines
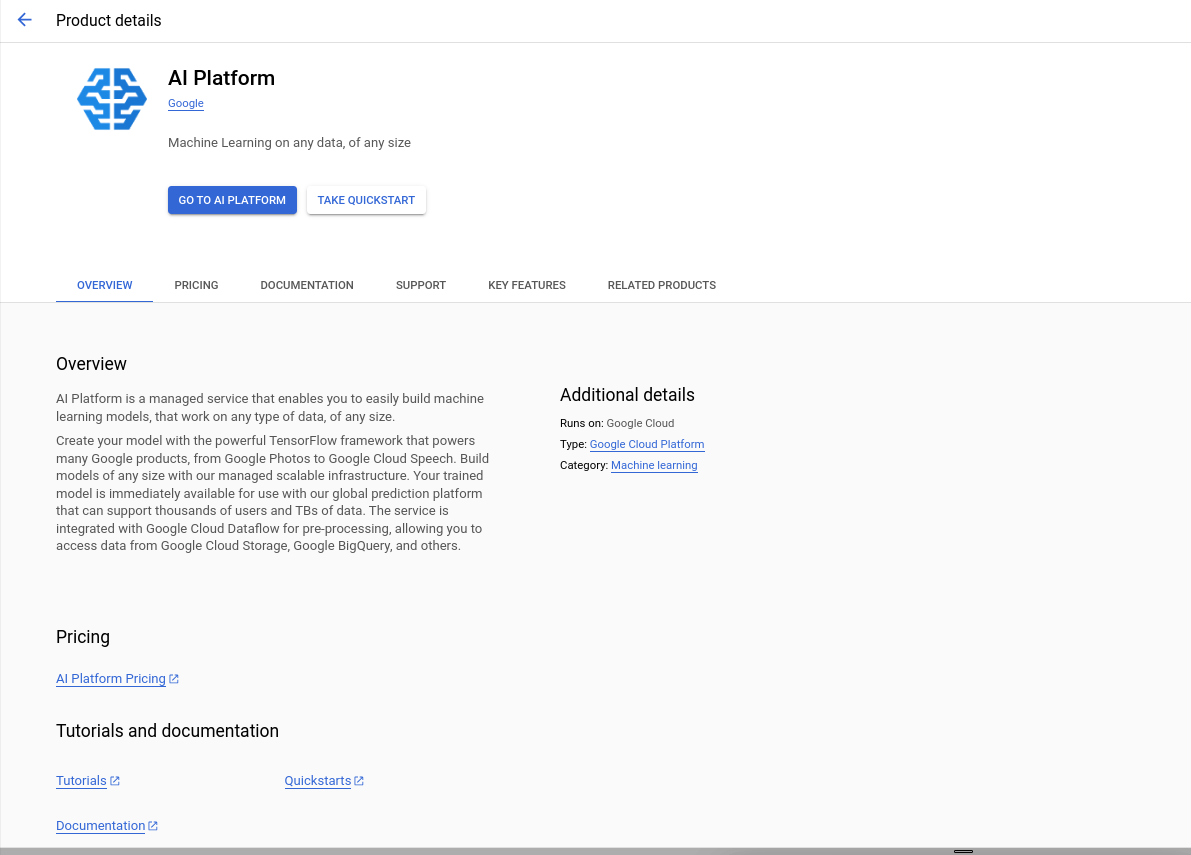
- In the cloud console, search for AI Platform. and click on GO TO AI PLATFORM.
-
Click Pipelines.
-
Then click New Instance.
- Click Configure.
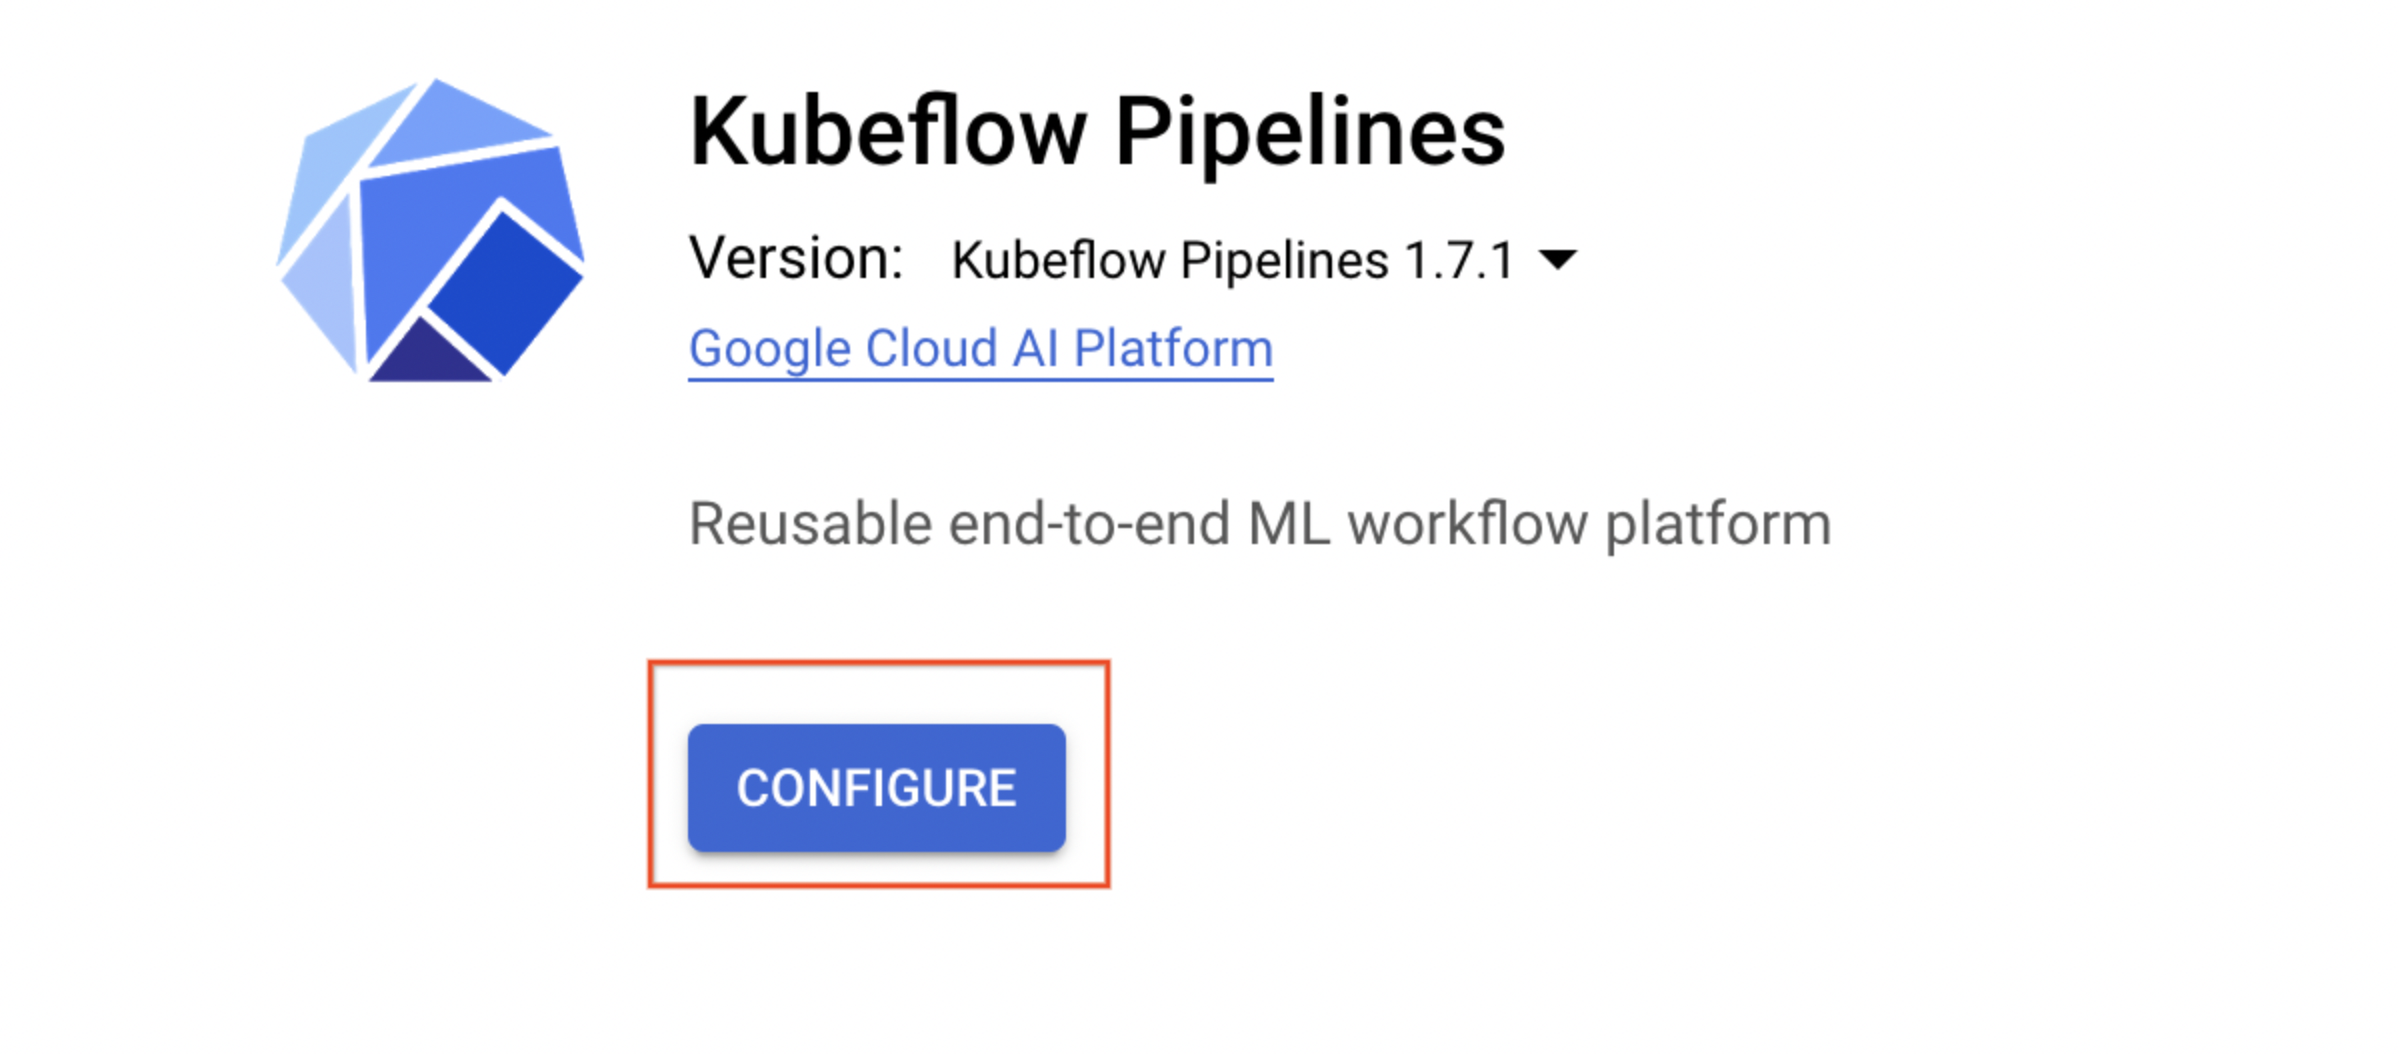
- On the Kubeflow Pipelines page, check Allow access to the following Cloud APIs, leave the name as is, and then click Create New Cluster.
This should take 2-3 minutes to complete. Wait for the cluster to finish before proceeding to the next step. In the first tab opened, you can view the Cluster Creation taking place in the GKE section of the Cloud Console, or see the individual VMs spinning up in the GCE section of the Cloud Console.
- When the cluster creation is complete, leave other settings unchanged, and then click Deploy. You will see the individual services of KFP deployed to your GKE cluster.
Proceed to the next step while installation occurs.
Click Check my progress to verify the objective.
Task 3. Create an instance of Cloud AI Platform Notebooks
- In Cloud Shell, run the following commands to create a user-managed notebook:
-
Click on the Navigation Menu. Navigate to Vertex AI, then to Workbench.
-
Click on USER-MANAGED NOTEBOOKS
The notebook creation will take 2-3 minutes to complete.
-
Click Open JupyterLab next to your notebook name. A JupyterLab window opens in a new tab.
Click Check my progress to verify the objective.
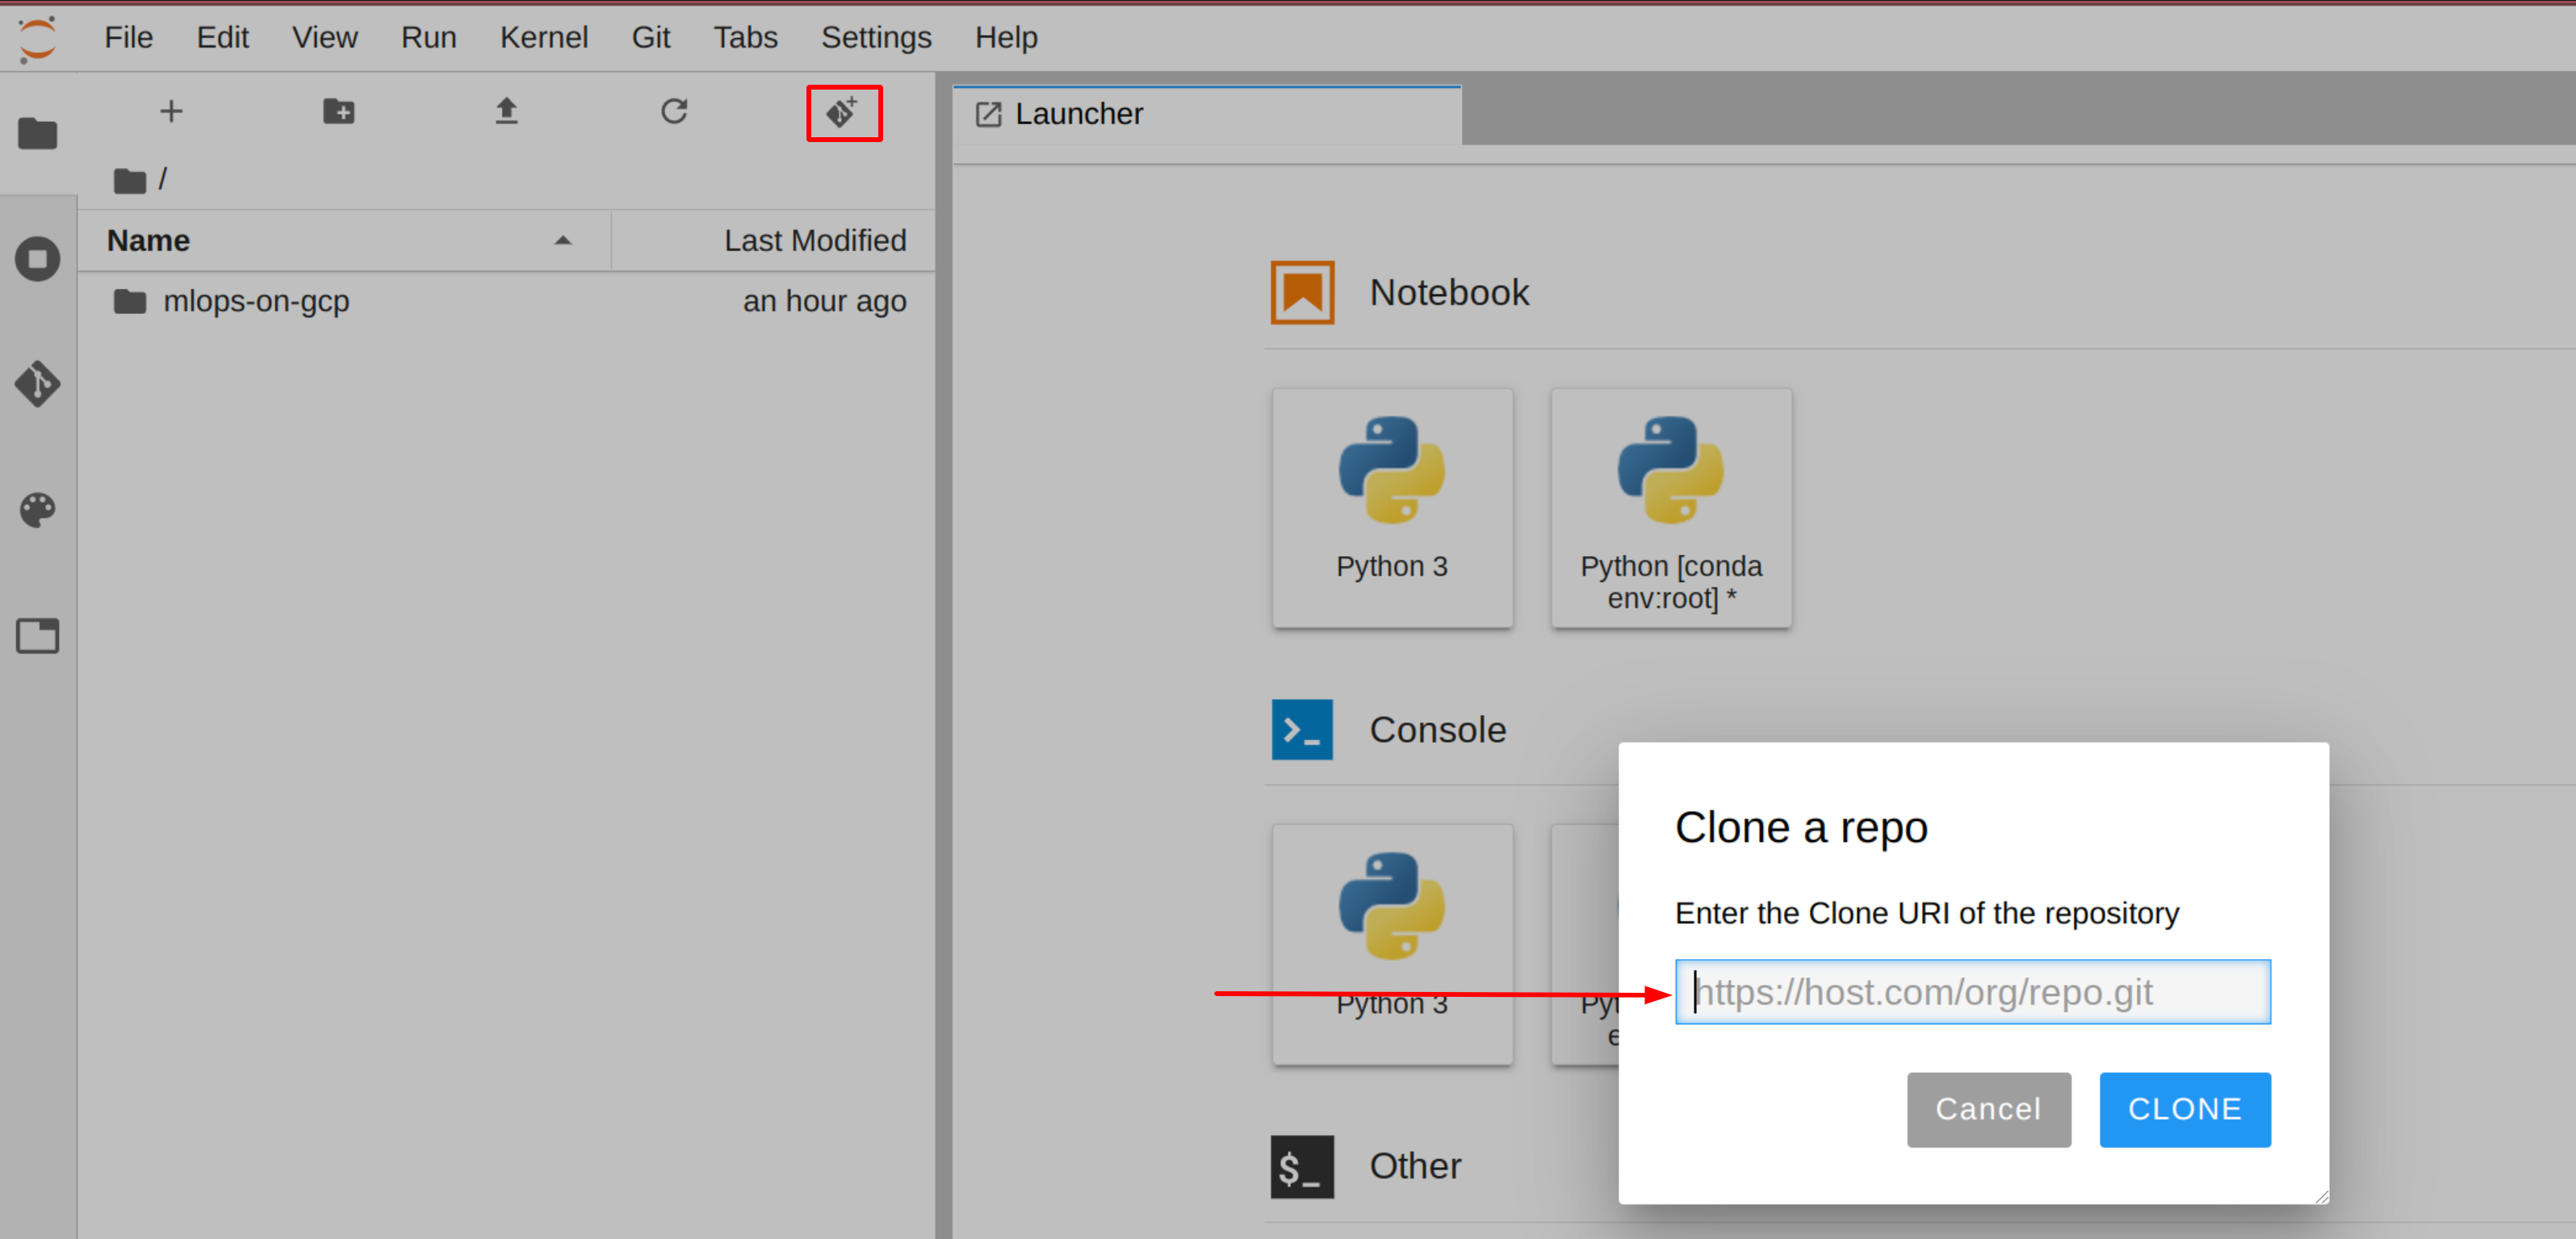
Task 4. Clone the example repo within your AI Platform Notebooks instance
To clone the mlops-on-gcp notebook in your JupyterLab instance:
-
In JupyterLab, click the Terminal icon to open a new terminal.
-
At the command-line prompt, type in the following command and press Enter:
git clone https://github.com/GoogleCloudPlatform/mlops-on-gcp Note: If the cloned repo does not appear in the JupyterLab UI, you can use the top line menu and under Git > Clone a repository, clone the repo (https://github.com/GoogleCloudPlatform/mlops-on-gcp) using the UI. -
Confirm that you have cloned the repository by double clicking on the
mlops-on-gcpdirectory and ensuring that you can see its contents. The files for all the Jupyter notebook-based labs throughout this course are available in this directory.
Navigate to the example notebook
- In the JupyterLab, open a terminal and execute the following commands:
-
Now, in AI Platform Notebooks, navigate to
mlops-on-gcp/workshops/tfx-caip-tf23/lab-01-tfx-walkthrough/labsand openlab-01.ipynb. -
Clear all the cells in the notebook (Edit > Clear All Outputs) and then Run the cells one by one.
-
When prompted, come back to these instructions to check your progress.
If you need more help, you may take a look at the complete solution by navigating to mlops-on-gcp/workshops/tfx-caip-tf23/lab-01-tfx-walkthrough/solutions, open lab-01.ipynb.
Click Check my progress to verify the objective.
Task 5. Run your training job in the Cloud
Test completed tasks - Configure and run CsvExampleGen
Click Check my progress to verify the objective.
Test completed task - Create and run training component
Click Check my progress to verify the objective.
Congratulations!
This concludes your introductory walthrough through TFX pipeline components. In the lab, you used TFX to analyze, understand, and pre-process the dataset and train, analyze, validate, and deploy a multi-class classification model to predict the type of forest cover from cartographic features
End your lab
When you have completed your lab, click End Lab. Qwiklabs removes the resources you’ve used and cleans the account for you.
You will be given an opportunity to rate the lab experience. Select the applicable number of stars, type a comment, and then click Submit.
The number of stars indicates the following:
- 1 star = Very dissatisfied
- 2 stars = Dissatisfied
- 3 stars = Neutral
- 4 stars = Satisfied
- 5 stars = Very satisfied
You can close the dialog box if you don't want to provide feedback.
For feedback, suggestions, or corrections, please use the Support tab.
Copyright 2022 Google LLC All rights reserved. Google and the Google logo are trademarks of Google LLC. All other company and product names may be trademarks of the respective companies with which they are associated.

