

Before you begin
- Labs create a Google Cloud project and resources for a fixed time
- Labs have a time limit and no pause feature. If you end the lab, you'll have to restart from the beginning.
- On the top left of your screen, click Start lab to begin
Create HelloWorld HTTP Cloud Function
/ 50
Create Gopher HTTP Cloud Function
/ 50
Go is an open source programming language that makes it easy to build simple, reliable, and efficient software. Go is already installed when using Cloud Shell.
Cloud Run functions is a serverless execution environment for building and connecting cloud services. With Cloud Run functions, you write single-purpose functions that are attached to events emitted from your cloud infrastructure and services. Your function is triggered when an event being watched is fired. Your code executes in a fully managed environment in Cloud Run. There is no need to provision any infrastructure or worry about managing any servers.
You can write Cloud Run functions using supported programming languages. You can take your function and run it in any standard runtime environment for one of the supported languages, which makes both portability and local testing a breeze.
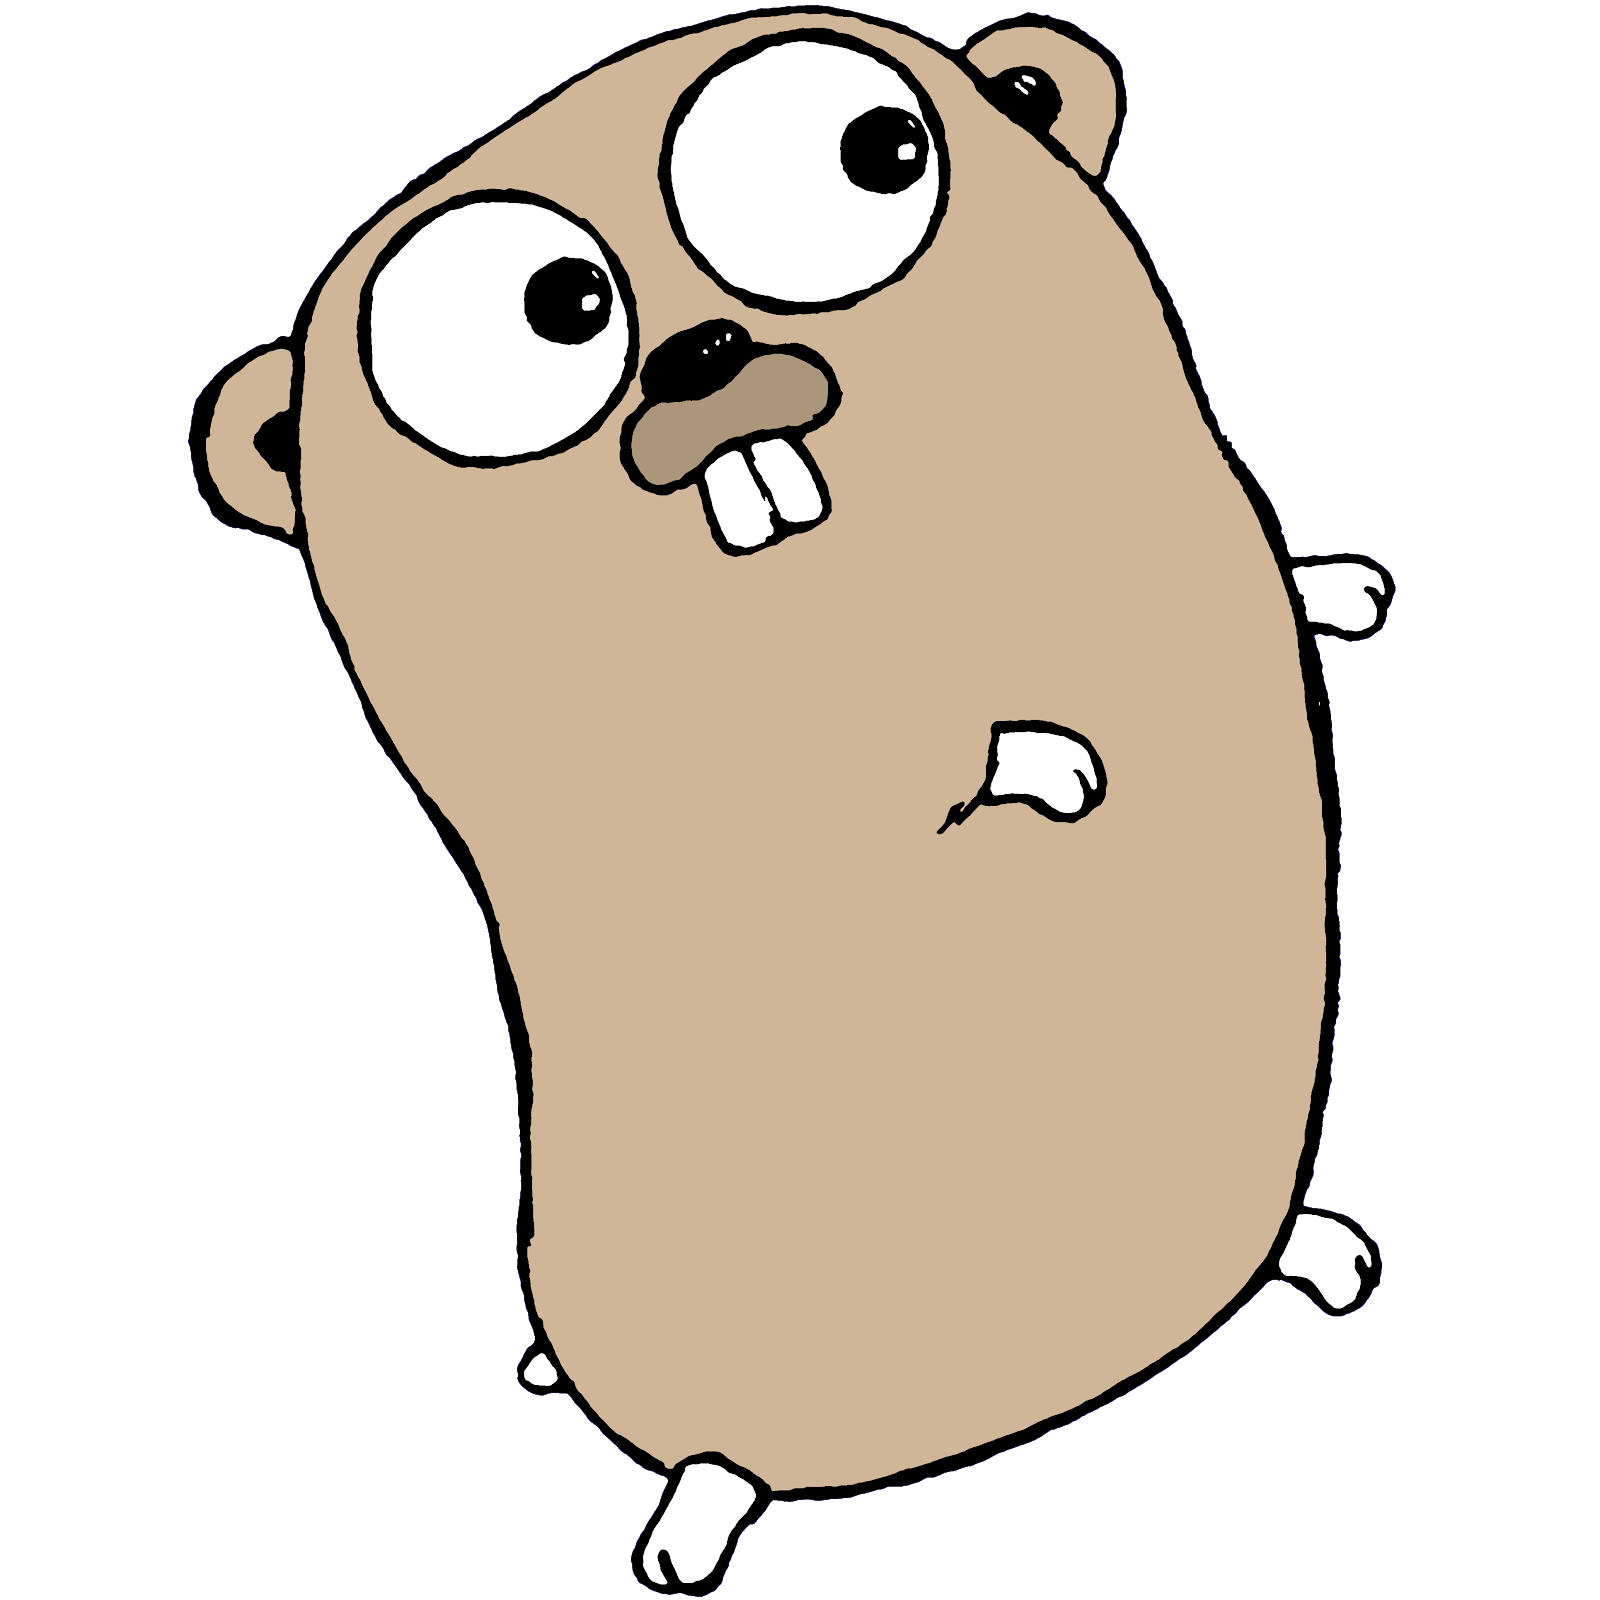
In this lab you use Go to create your own Cloud Run function that, when invoked via HTTP, displays an image of the Go gopher, designed by Renee French.
This lab assumes you are familiar with Go. Explanations are provided for the Go code, but may not explain everything needed for someone completely new to Go.
Read these instructions. Labs are timed and you cannot pause them. The timer, which starts when you click Start Lab, shows how long Google Cloud resources are made available to you.
This hands-on lab lets you do the lab activities in a real cloud environment, not in a simulation or demo environment. It does so by giving you new, temporary credentials you use to sign in and access Google Cloud for the duration of the lab.
To complete this lab, you need:
Click the Start Lab button. If you need to pay for the lab, a dialog opens for you to select your payment method. On the left is the Lab Details pane with the following:
Click Open Google Cloud console (or right-click and select Open Link in Incognito Window if you are running the Chrome browser).
The lab spins up resources, and then opens another tab that shows the Sign in page.
Tip: Arrange the tabs in separate windows, side-by-side.
If necessary, copy the Username below and paste it into the Sign in dialog.
You can also find the Username in the Lab Details pane.
Click Next.
Copy the Password below and paste it into the Welcome dialog.
You can also find the Password in the Lab Details pane.
Click Next.
Click through the subsequent pages:
After a few moments, the Google Cloud console opens in this tab.

Cloud Shell is a virtual machine that is loaded with development tools. It offers a persistent 5GB home directory and runs on the Google Cloud. Cloud Shell provides command-line access to your Google Cloud resources.
Click Activate Cloud Shell 
Click through the following windows:
When you are connected, you are already authenticated, and the project is set to your Project_ID,
gcloud is the command-line tool for Google Cloud. It comes pre-installed on Cloud Shell and supports tab-completion.
Output:
Output:
gcloud, in Google Cloud, refer to the gcloud CLI overview guide.
Certain Compute Engine resources live in regions and zones. A region is a specific geographical location where you can run your resources. Each region has one or more zones.
Run the following gcloud commands in Cloud Shell to set the default region and zone for your lab:
curl to download a zip with the code for this lab:unzip to unpack the code. This unpacks a directory (golang-samples-main), which contains sample Go code for cloud.google.com:The gopher directory contains the following directories and files:
HTTP Cloud Run functions in Go are written as http.HandlerFunc functions, which is an interface defined in the Go standard library. The function must:
http.HandlerFunc type, meaning the function is of the form func(http.ResponseWriter, *http.Request). (See the Writing Web Applications tutorial for an in-depth guide to writing a full web application in Go.)For example, here is a "Hello, world" function:
golang-samples-main/functions/codelabs/gopher/hello.go. functions/codelabs/gopher directory you can deploy the function name with gcloud functions deploy:This takes a minute or two.
Output:
Click Check my progress to verify the objective.
gcloud services enable cloudfunctions.googleapis.com.gcloud from) is the directory with the .go file in it. You can change directories using cd golang-samples/functions/codelabs/gopher.HelloWorld, the name of the Go function you're trying to deploy.httpsTrigger URL that's displayed in the output. It should look like this:HelloWorld function, curl into the URL from the last output:Output:
You've written and deployed a HTTPCloud Run function!
Now make the "Hello, world" function a bit more entertaining by printing an image of a Gopher for every request.
The following block shows the code to make it happen. You can see this code in Cloud Shell at golang-samples-master/functions/codelabs/gopher/gopher.go.
The file starts with a package declaration and comment. All Go code is written inside a package, with a declaration like this at the top.
The import block contains a list of other packages that this file depends on. These packages are referred to in the rest of the file using their name. For example, to use the ResponseWriter type from the http package, you write http.ResponseWriter.
Next is the Gopher function declaration.
The function starts by reading the gophercolor.png file (see the sample code) using the os.Open function.
Then, it checks whether there was an error reading the file, which might occur if the file is corrupted or was accidentally left out of the upload.
It uses io.Copy to copy the gopher image to w, the http.ResponseWriter argument. Everything written to w is sent in the HTTP response.
If there was no error when writing the response, the function returns normally.
gcloud functions deploy and the name of the function, Gopher:Enter Y when asked to allow unauthenticated invocations of the new function.
To test the function, visit the function's URL in the output from the last command. If successful, you see the gopher in your browser!
The next step is to add a test to make sure your function continues to work.
Click Check my progress to verify the objective.
HTTP Cloud Run functions in Go are tested using the testing and httptest packages from the standard library. There is no need to run an emulator or other simulation to test your function—just normal Go code.
Here is what a test looks like for the Gopher function:
func MyTest(t *testing.T). It must be exported and take one argument of type *testing.T.httptest package.cd to the directory with the files you're testing:golang-samples-main/functions/codelabs/gopher directory, use the go test command:Output:
gopher.go and gopher_test.go files (golang-samples-main/functions/codelabs/gopher)?Next, you'll create a binary (package main, in Go) so that you can run your function locally and try it in a browser.
To run an HTTP function locally, create an HTTP server and register your function as a handler. (See the Writing Web Applications tutorial for an in-depth guide to writing a full web application in Go.)
You can write an HTTP server for your function in a subdirectory of your function.
Following a Go convention, you name that directory cmd and create a main.go file inside it:
package main as the package. A main package will be built as a binary that you can run.github.com/GoogleCloudPlatform/golang-samples/functions/codelabs/gopher, based on the module line of the go.mod next to your function file. When you're writing your own functions, you can name the module whatever you prefer.func main() is the entry point for the binary. It registers the gopher.Gopher function as an HTTP handler then starts the server using http.ListenAndServe.Output:
Because the function loads the gophercolor.png image from the current working directory, you have to start your binary from the same directory as the gophercolor.png file. The -o start flag says to name the output binary start. The ./cmd says to build the binary located in the cmd directory.
Now use the Cloud Shell Web Preview to test the server in your browser.
 .
.8080 from the displayed menu.Cloud Shell opens the preview URL on its proxy service in a new browser window. The web preview restricts access over HTTPS to your user account only.
If everything is working properly, you should see the Go Gopher!
gopher.go and gopher_test.go files (golang-samples-main/functions/codelabs/gopher)?go build -o start ./cmd command, then start it by running ./start. It should print Listening on localhost:8080.8080, the port the server is listening on.All resources you've used are deleted when you end this lab. When using your own environment, you should always remove extraneous resources to save on cost and to be a good cloud citizen.
Stop serving your URL with CTRL+C.
Once you're done testing your Cloud Run functions, you can delete it using gcloud:
You can also delete the function from the console.
Now you know how to use Cloud Run functions in Go! In this lab, you learned how to write an HTTP Cloud Run function in Go, how to test it, and how to run it locally.
...helps you make the most of Google Cloud technologies. Our classes include technical skills and best practices to help you get up to speed quickly and continue your learning journey. We offer fundamental to advanced level training, with on-demand, live, and virtual options to suit your busy schedule. Certifications help you validate and prove your skill and expertise in Google Cloud technologies.
Manual Last Updated February 19, 2025
Lab Last Tested September 10, 2024
Copyright 2025 Google LLC All rights reserved. Google and the Google logo are trademarks of Google LLC. All other company and product names may be trademarks of the respective companies with which they are associated.


Ta treść jest obecnie niedostępna
Kiedy dostępność się zmieni, wyślemy Ci e-maila z powiadomieniem

Świetnie
Kiedy dostępność się zmieni, skontaktujemy się z Tobą e-mailem

One lab at a time
Confirm to end all existing labs and start this one