


Before you begin
- Labs create a Google Cloud project and resources for a fixed time
- Labs have a time limit and no pause feature. If you end the lab, you'll have to restart from the beginning.
- On the top left of your screen, click Start lab to begin
Create Healthcare Dataset
/ 20
Set up IAM Permissions
/ 20
Create data stores
/ 20
Import to DICOM Datasets
/ 10
Using De-identification
/ 10
Converting DICOM Images
/ 20
In this lab, you will discover and use the de-identification functionality of Cloud Healthcare API using Digital Imaging and Communications in Medicine (DICOM) data model.
In this lab, you will:
Read these instructions. Labs are timed and you cannot pause them. The timer, which starts when you click Start Lab, shows how long Google Cloud resources are made available to you.
This hands-on lab lets you do the lab activities in a real cloud environment, not in a simulation or demo environment. It does so by giving you new, temporary credentials you use to sign in and access Google Cloud for the duration of the lab.
To complete this lab, you need:
Click the Start Lab button. If you need to pay for the lab, a dialog opens for you to select your payment method. On the left is the Lab Details pane with the following:
Click Open Google Cloud console (or right-click and select Open Link in Incognito Window if you are running the Chrome browser).
The lab spins up resources, and then opens another tab that shows the Sign in page.
Tip: Arrange the tabs in separate windows, side-by-side.
If necessary, copy the Username below and paste it into the Sign in dialog.
You can also find the Username in the Lab Details pane.
Click Next.
Copy the Password below and paste it into the Welcome dialog.
You can also find the Password in the Lab Details pane.
Click Next.
Click through the subsequent pages:
After a few moments, the Google Cloud console opens in this tab.

Cloud Shell is a virtual machine that is loaded with development tools. It offers a persistent 5GB home directory and runs on the Google Cloud. Cloud Shell provides command-line access to your Google Cloud resources.
Click Activate Cloud Shell 
Click through the following windows:
When you are connected, you are already authenticated, and the project is set to your Project_ID,
gcloud is the command-line tool for Google Cloud. It comes pre-installed on Cloud Shell and supports tab-completion.
Output:
Output:
gcloud, in Google Cloud, refer to the gcloud CLI overview guide.
In this exercise you will use the UI to create a Cloud Healthcare API dataset.
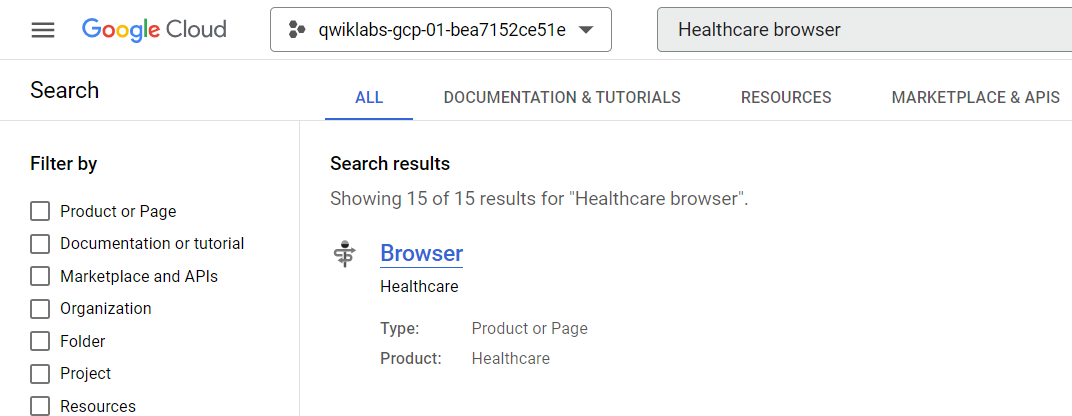
On the Google Cloud console title bar, type Healthcare browser in the Search field and press Enter, then click Browser in the search results.
On the Product Details page that opens, click Enable to enable the Cloud Healthcare API.
Once the API is enabled, in the Healthcare browser, select Create Dataset.
Name the dataset dataset1 within the region
Click Check my progress to verify the objective.
From the Navigation menu (
On the IAM page, select the Include Google-provided role grants checkbox.
Edit the permissions for your Healthcare Service Agent by locating the service agent under the IAM list and selecting the pencil icon. The service account will have the Domain @gcp-sa-healthcare.iam.gserviceaccount.com.
Click Add another role to add additional roles to the Healthcare Service Agent account.
Click inside the Select a role box and choose the following roles:
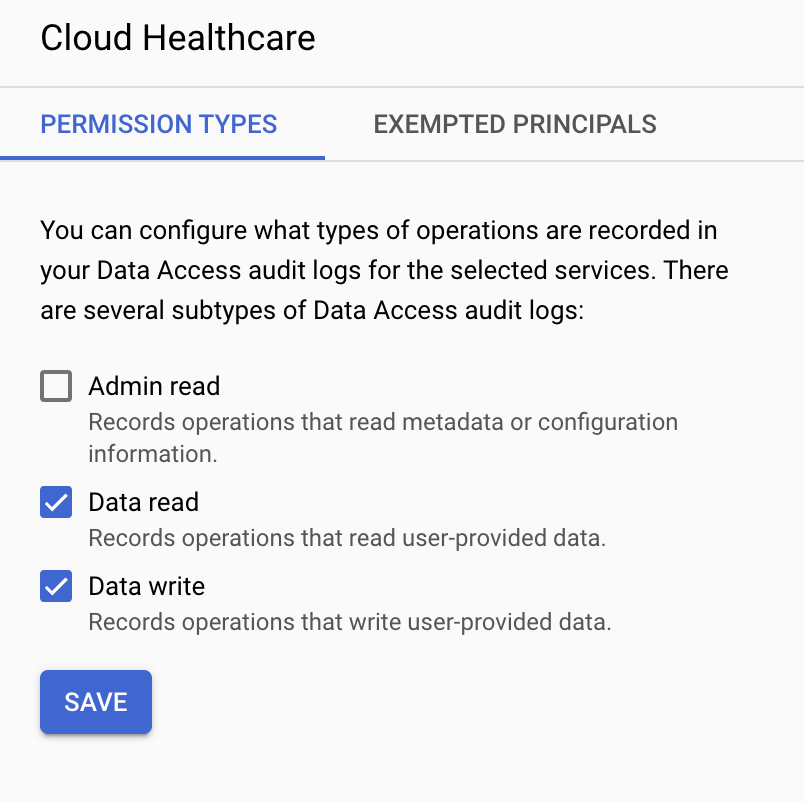
From the IAM & Admin menu, navigate to Audit Logs.
Scroll or use the filter box to locate Cloud Healthcare, then check the box next to it to select.
If the info panel isn't already open on the right side of the interface, click the Show Info Panel button.
Select the Data read and Data write checkboxes, then click Save.
Click Check my progress to verify the objective.
Data in Cloud Healthcare API datasets and stores can be accessed and managed using a REST API that identifies each store using its project, location, dataset, store type and store name. This API implements modality-specific standards for access that are consistent with industry standards for that modality. For example, the Cloud Healthcare DICOM API natively provides operations for reading DICOM studies and series that are consistent with the DICOMweb standard, and supports the DICOM DIMSE C-STORE protocol via an open-source adapter.
The server returns a path to the newly created store.
Users can also use the curl utility to issue Cloud Healthcare API calls. curl is pre-installed in your Cloud Shell machine. By default, curl does not show HTTP status codes or session-related information; if you would like to see this information please add the -v option to all commands in this tutorial.
Operations that access a modality-specific store use a request path that is comprised of two pieces: a base path, and a modality-specific request path.
Administrative operations—which generally operate only on locations, datasets and stores—may only use the base path. Data modality-specific retrieval operations use both the base path (for identifying the store to be accessed) and request path (for identifying the actual data to be retrieved).
Click Check my progress to verify the objective.
In this section you will be importing data from the NIH Chest x-ray data set to a DICOM store. For more information on the public dataset, visit the NIH Chest X-ray dataset documentation.
Click Check my progress to verify the objective.
The Open Health Imaging Foundation (OHIF) Viewer is an open source, web-based, medical imaging viewer. You will use OHIF Viewer in this lab to view your DICOM dataset.
The following steps will walk through setting up OHIF Viewer to view your dataset:
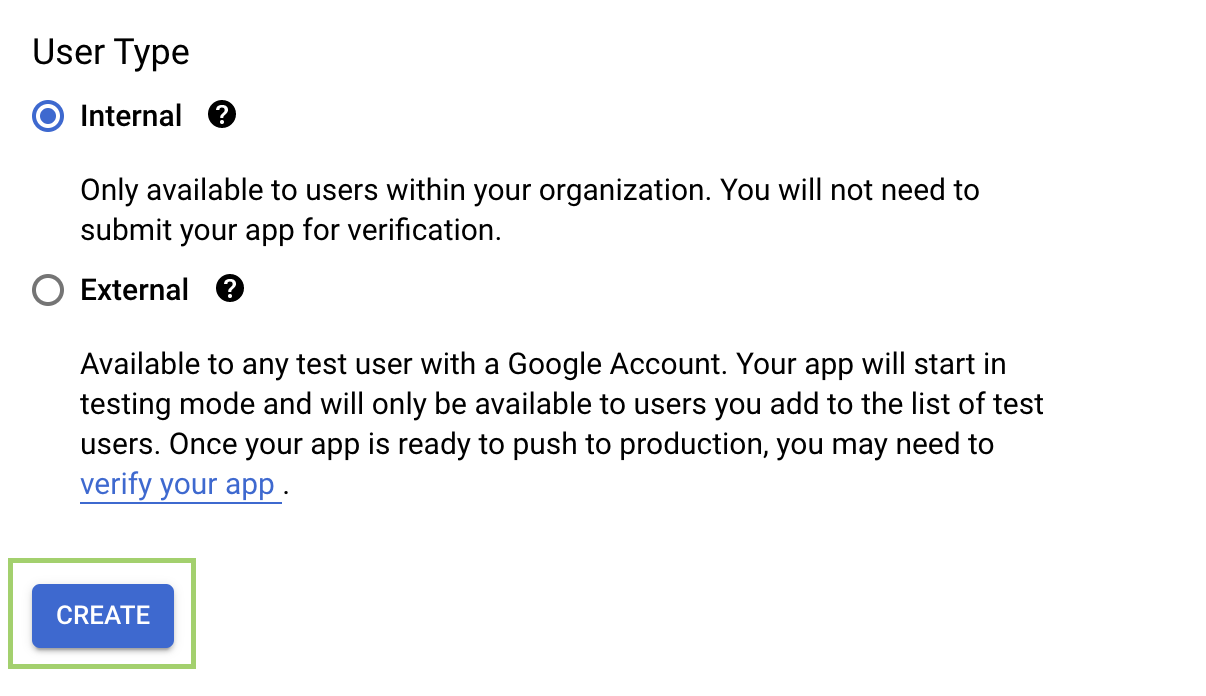
First, select APIs & Services > OAuth Consent Screen from the Navigation menu to create an OAuth Consent screen.
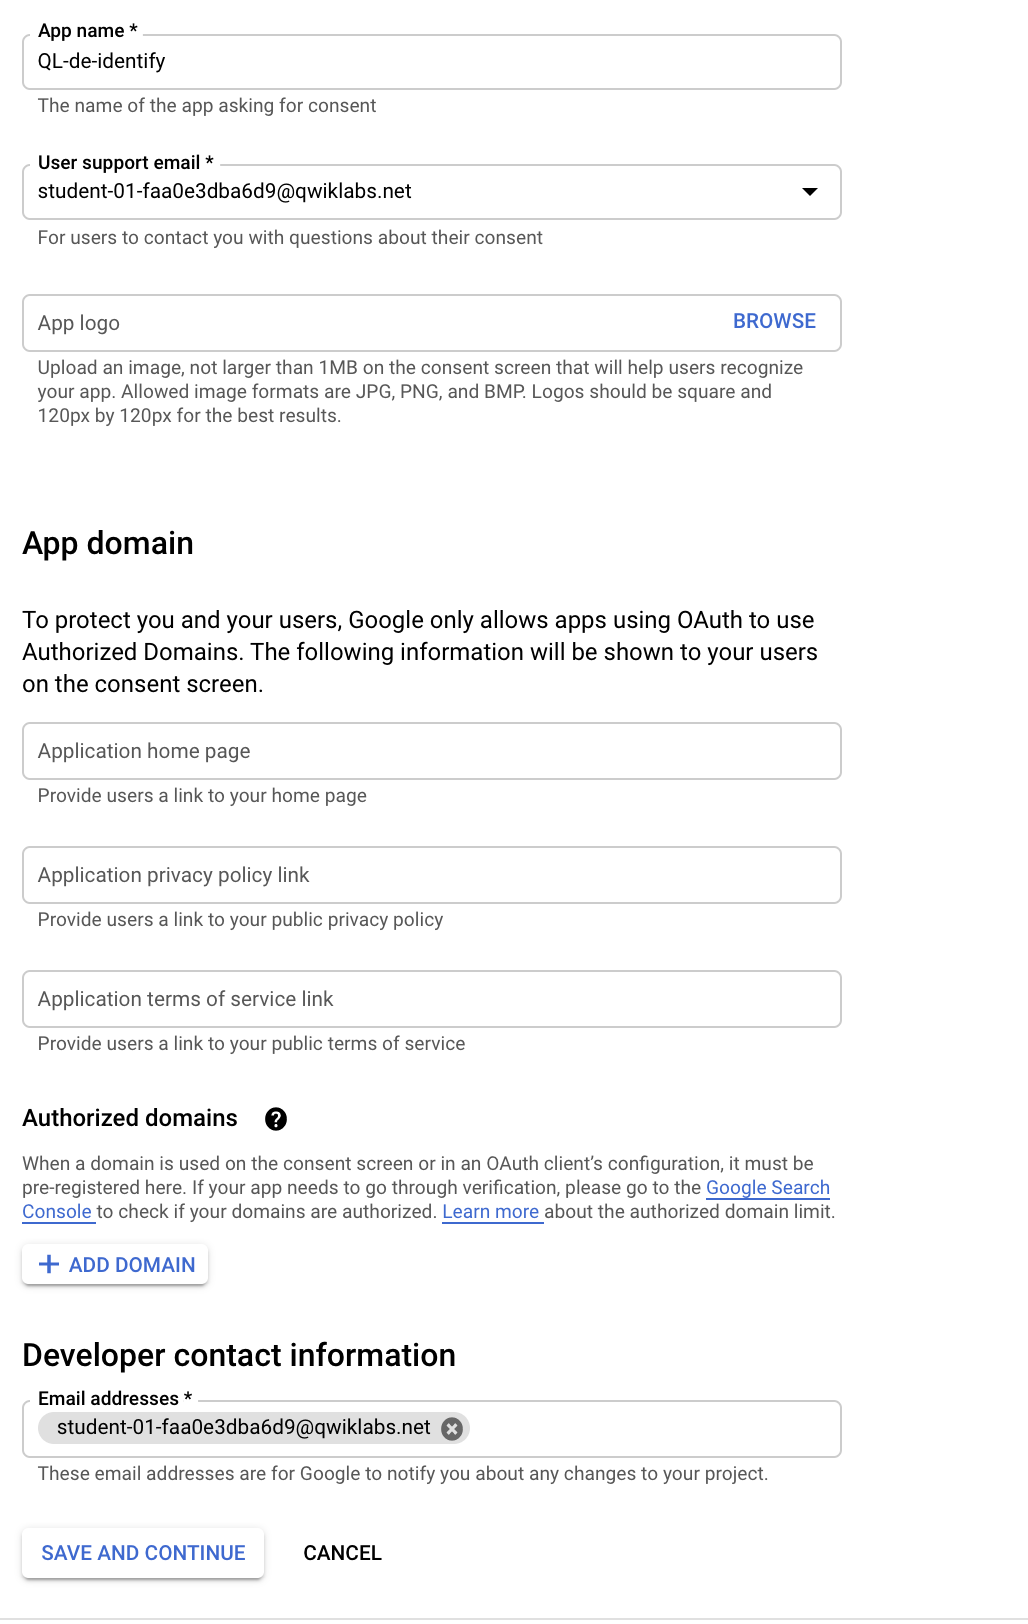
On the OAuth Consent Screen page, select the User Type as Internal and click Create:
Click Save and Continue.
For the Scopes phase, click the Add or Remove Scopes button.
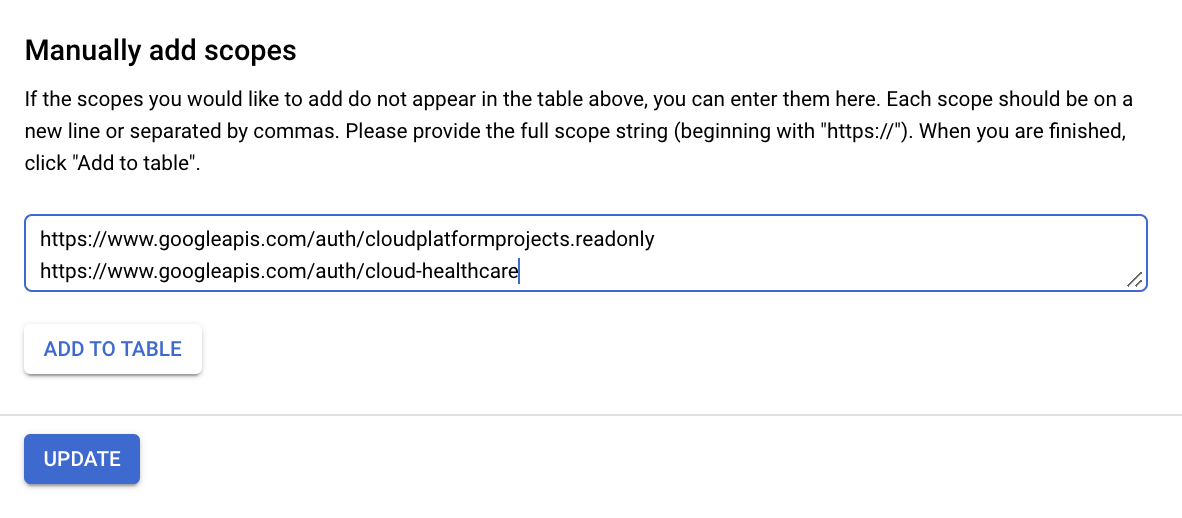
Scroll to the bottom of the pop-up window to the Manually add scopes section.
Add the following scopes:
Click Add to table and then click Update.
Scroll to the bottom of the Scopes phase and click Save and Continue.
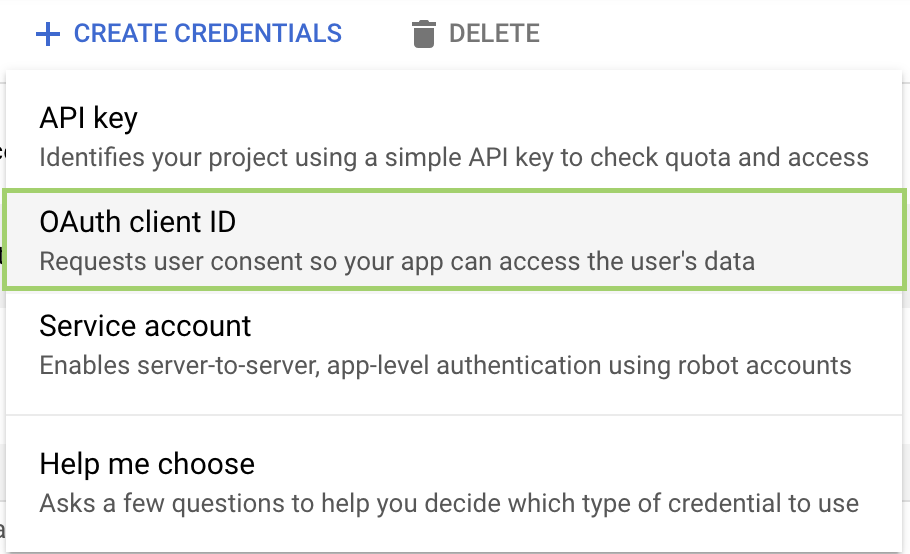
Next, you'll need an OAuth Client ID to connect OHIF Viewer to your Cloud Healthcare resources.
Select Credentials from the APIS & Services menu.
On the Credentials page, click + Create Credentials > OAuth Client ID:
You will need to return to your client ID and fill out the domains once your OHIF Viewer application has been launched.
You'll now the see your Client ID and Client Secret in the next window.
Now, deploy the OHIF Viewer container to Cloud Run and connect it with your OAuth Client ID.
To simplify the setup, the OHIF Viewer docker image already exists in container registry in a project you have access to, so you can directly deploy the container to Cloud Run.
PASTE-CLIENT-ID-HERE with the Client ID of the OAuth Client you just created:
Once your Cloud Run deployment completes, you will be given a unique service URL that looks similar to this:
You can now return to your OAuth Client ID and update the domains with this Service URL.
If you're not still on the Credentials page, select APIs & Services > Credentials from the Navigation menu in the Cloud console.
Edit your Client ID by clicking the pencil icon.
Add your unique service URI to Authorized Javascript Origins.
Add your unique service URI + /callback to Authorized Redirect URIs.
Click Save.
De-identification (redacting or transformation) of sensitive data elements is often an important step in pre-processing healthcare data so that it can be made available for analysis, machine learning models, and other use cases. Cloud Healthcare API has the capability to de-identify data stored in the service, facilitating analysis by researchers or machine learning analysis for advanced anomaly scans.
Select
Select dataset1 for your dataset.
Select dicomstore1 in the DICOM Store window.
You'll see one entry, R_004 with info for its ID number, Study Date, and Description:
Click on the entry to inspect it further and view the associated images.
This dataset contains pre-surgery images of a chest. You can scroll through them to view them all.
When you're done looking at it, press the Back button on your browser to return to the OHIF-Viewer main menu.
Next, you will de-identify this dataset.
With our small dataset, this operation will be done quickly, but on a larger dataset this operation can take a few minutes.
<operation-ID> with the operations ID issued in the previous output:If you see "done": true in the output of the previous command, you can be sure that your operation is complete.
Once the operation is complete a new de-id dataset will appear on the Healthcare UI page in the console.
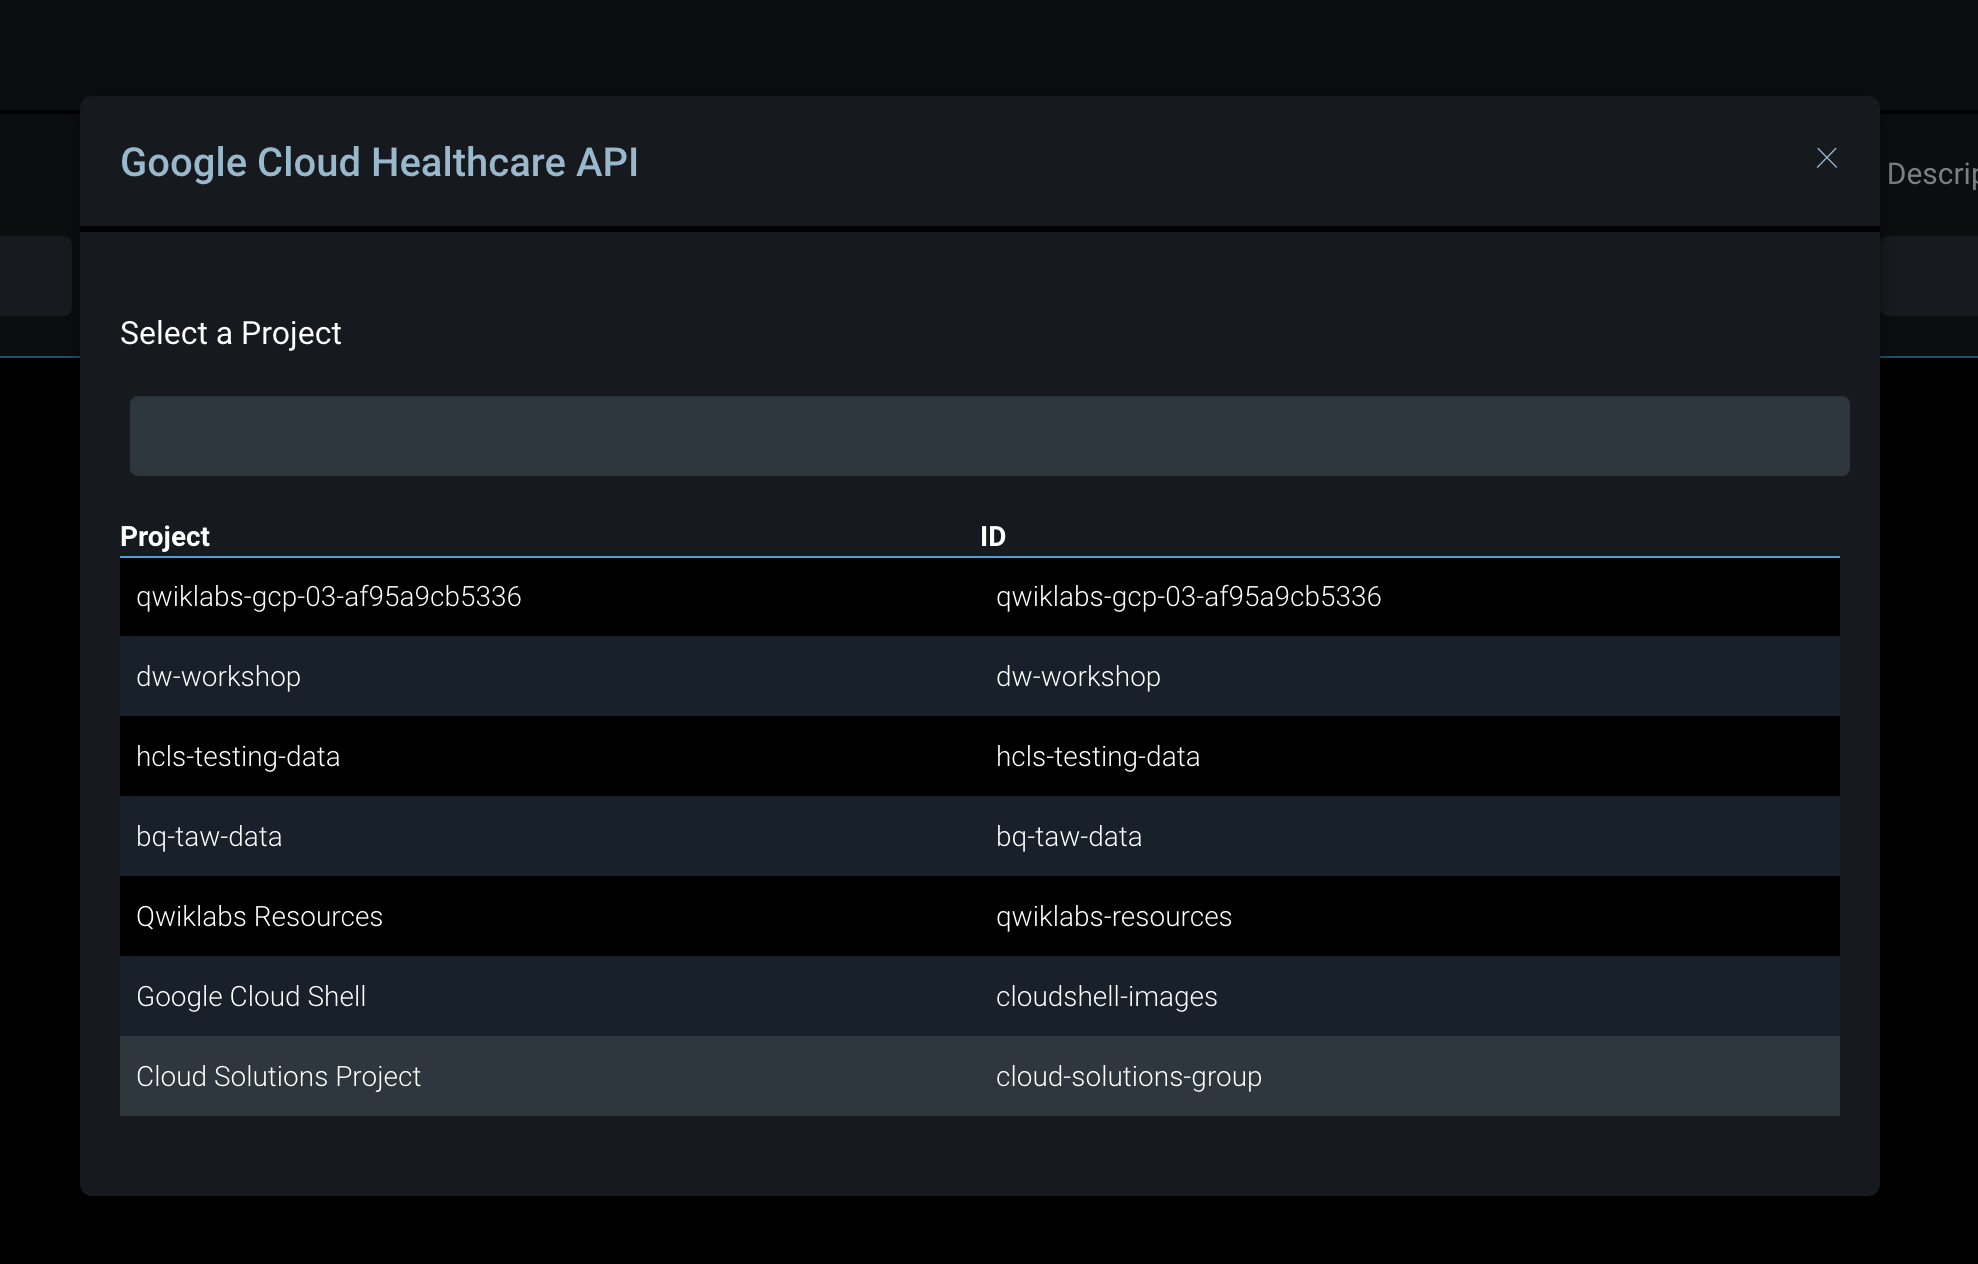
Confirm the identifiable information has been redacted by returning to your OHIF-Viewer browser tab and selecting the Change DICOM Store button.
In the window that pops up, select your Qwiklabs Project ID as the Project.
Select
Select de-id as the dataset.
Select dicomstore1 for the DICOM Store.
You'll now see one entry in the DICOM Store, but the outward facing information/tags have been removed:
Click Check my progress to verify the objective.
From the Navigation menu, navigate to Cloud Storage > Buckets.
Click Create bucket.
Fill out the first box with a unique name and click Continue.
Set the Location type to Region and select the region
Click Create.
If prompted Public access will be prevented, click Confirm.
Using Cloud Shell export the variable for your newly created bucket, replacing with you bucket's name:
Now you can export the DICOM images into JPEG or PNG using a gcloud command.
OR
Export the DICOM images into PNG:
In the Cloud console, from the Navigation menu, navigate to Cloud Storage and click on your bucket.
Select a folder, click on an image, then click on the Link URL. This will download the image.
You can check the file extension to verify your file is correct or click the image to view.
Click Check my progress to verify the objective.
Cloud Healthcare API provides a comprehensive facility for ingesting, storing, managing, and securely exposing healthcare data in FHIR, DICOM, and HL7 v2 formats. Using Cloud Healthcare API, you can ingest and store data from electronic health records systems (EHRs), radiological information systems (RISs), and custom healthcare applications. You can then immediately make that data available to applications for analysis, machine learning prediction and inference, and consumer access.
Cloud Healthcare API enables application access to healthcare data via widely-accepted, standards-based interfaces such as FHIR STU3 and DICOMweb. These APIs allow data ingestion into modality-specific data stores, which support data retrieval, update, search and other functions using familiar standards-based interfaces.
Further, the API integrates with other capabilities in Google Cloud through two primary mechanisms:
Using Pub/Sub with Cloud Run functions enables you to invoke machine learning models on healthcare data, storing the resulting predictions back in Cloud Healthcare API data store. A similar integration with Cloud Dataflow supports transformation and cleansing of healthcare data prior to use by applications.
To support healthcare research, Cloud Healthcare API offers de-identification capabilities for FHIR and DICOM. This feature allows customers to share data with researchers working on new cutting-edge diagnostics and medicines.
In this lab you:
This self-paced lab is part of the Cloud Healthcare API course. A course is a series of related labs that form a learning path. Completing this course earns you a badge to recognize your achievement. You can make your badge or badges public and link to them in your online resume or social media account. Enroll in any course that contains this lab and get immediate completion credit. Refer to the Google Cloud Skills Boost catalog for more details.
Continue your course with Ingesting FHIR Data with the Healthcare API or try one of these suggestions:
Manual Last Updated November 15, 2024
Lab Last Tested November 15, 2024
Copyright 2025 Google LLC All rights reserved. Google and the Google logo are trademarks of Google LLC. All other company and product names may be trademarks of the respective companies with which they are associated.


This content is not currently available
We will notify you via email when it becomes available

Great!
We will contact you via email if it becomes available

One lab at a time
Confirm to end all existing labs and start this one