Creating Spanner Instances and Databases (Console)
SCBL001
Overview
In this lab, you create Spanner instances and databases using the Google Cloud Console.
Objectives
In this lab, you learn how to:
- Create a simple Spanner instance.
- Compare Spanner configuration options.
- Create Spanner databases using the Console.
- Create Spanner databases using the PostgreSQL dialect.
Setup and Requirements
Before you click the Start Lab button
Read these instructions. Labs are timed and you cannot pause them. The timer, which starts when you click Start Lab, shows how long Google Cloud resources will be made available to you.
This hands-on lab lets you do the lab activities yourself in a real cloud environment, not in a simulation or demo environment. It does so by giving you new, temporary credentials that you use to sign in and access Google Cloud for the duration of the lab.
To complete this lab, you need:
- Access to a standard internet browser (Chrome browser recommended).
- Time to complete the lab---remember, once you start, you cannot pause a lab.
Activate Cloud Shell
Cloud Shell is a virtual machine that is loaded with development tools. It offers a persistent 5GB home directory and runs on the Google Cloud. Cloud Shell provides command-line access to your Google Cloud resources.
- Click Activate Cloud Shell
at the top of the Google Cloud console.
When you are connected, you are already authenticated, and the project is set to your PROJECT_ID. The output contains a line that declares the PROJECT_ID for this session:
gcloud is the command-line tool for Google Cloud. It comes pre-installed on Cloud Shell and supports tab-completion.
- (Optional) You can list the active account name with this command:
-
Click Authorize.
-
Your output should now look like this:
Output:
- (Optional) You can list the project ID with this command:
Output:
Example output:
gcloud, in Google Cloud, refer to the gcloud CLI overview guide.
Task 1. Create a Simple Spanner instance
-
On the Google Cloud Console title bar, click the Navigation Menu (
). Scroll to the Database section and click Spanner.
-
Click the Create a Provisioned Instance button and name your instance my-first-instance. Select the region
from the Choose a configuration dropdown and then click Create. -
Wait for the instance to be created, then you should be redirected to the Instance Overview page. Click the Create Database button, you may need to scroll to the bottom to find it. Name your database my-database, choose Google Standard SQL, then scroll down and click the Create button.
-
Click Spanner Studio in the left menu listing.
-
Click the blue + icon on the top ribbon.
-
Enter the following CREATE TABLE statement, and then click the Run button.
-
Wait for the operation to complete. Your table should appear in the list of tables for that database. Expand the Tables section of the Explorer menu on the left to see the table name.
-
Click Clear Query and run the following INSERT query to add a row the your new table. Assuming you have no syntax errors, it should tell you 1 row was inserted. In the query, you are simply inserting a record.
-
Repeat the previous steps to add a few more records. Don't forget to change the
TableIDfield each time so it is unique. You can enter any values you like forField1. Add 2 or 3 more records. -
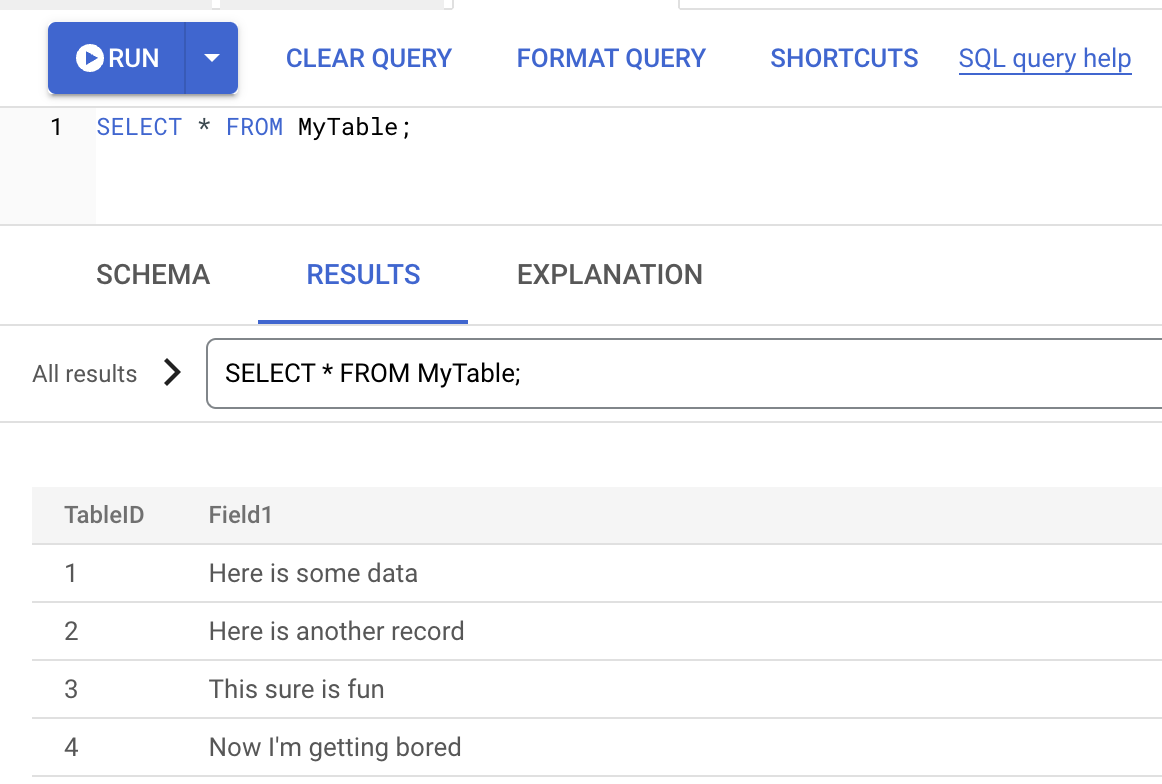
Click Clear Query and run the following SELECT query.
- Examine the results in the Console.
Task 2. Examining Spanner configuration options
-
In the top-left corner of the Spanner workspace area, click the All instances link.
-
Click the Create Instance button and name your instance my-second-instance.
-
In the Choose a configuration section, click the Compare Region Configurations button.
In the resulting pane, you must select two configurations to compare. In the first dropdown, select the Regional configurationus-central1 (Iowa). In the second dropdown, select Multi-region configurationnam3 (Northern Virginia/South Carolina/Iowa).Take note of the differences between replicas, availability, and the costs.Change the first dropdown to the Multi-region configurationnam-eur-asia1 (Iowa/Oklahoma/Belgium/Taiwan/South Carolina)and compare the replicas and the costs between the two multi-region configuration. -
Close the Compare region configurations pane. Return to the configuration screen and set the configuration to Regional and
. -
In the Allocate compute capacity section, change the Unit dropdown to Nodes.
-
In the Summary section, note the costs and maximum storage capacity. Increase the number of nodes to see the changes to costs and capacity.
-
In the Allocate compute capacity section, change the Unit dropdown to Processing Units. Processing units are added in increments of 100. Set the value to 100 (this is the smallest Spanner instance possible).
-
Note the costs and capacity. Click Create to create the instance.
Task 3. Creating the Pets database
-
As you did earlier, create a database called pets-db in the second instance.
-
Add the tables Owners and Pets to the database using the following DDL code in the Spanner Studio.
- Add a few owners and pets to the tables similar to what you did earlier in the lab. If you need some help, the insert queries should be similar to what is shown below.
Note: The primary keys for this database are not integers, but 36 character strings. These keys are meant to be universally unique identifiers (UUIDs). You could enter any unique strings less than or equal to 36 characters and it would work. If you want to generate proper UUIDs though, you can make the following request in a browser and at the top of the page, a UUID will be shown.
Bonus Task 4. Creating a PostgreSQL database
-
Create a second database in your Spanner instance named my-second-instance. Name the database pets-postgres. This time, choose PostgreSQL when prompted to select a database dialect. As a reminder, make sure you are at the Instance Overview page. Click the Create Database button.
-
The DDL code for the Pets database using PostgreSQL syntax is as follows. Create these tables in the same manner as earlier steps using the Spanner Studio.
Congratulations! You have created Spanner instances and databases using the Google Cloud Console.
End your lab
When you have completed your lab, click End Lab. Your account and the resources you've used are removed from the lab platform.
You will be given an opportunity to rate the lab experience. Select the applicable number of stars, type a comment, and then click Submit.
The number of stars indicates the following:
- 1 star = Very dissatisfied
- 2 stars = Dissatisfied
- 3 stars = Neutral
- 4 stars = Satisfied
- 5 stars = Very satisfied
You can close the dialog box if you don't want to provide feedback.
For feedback, suggestions, or corrections, please use the Support tab.
Copyright 2023 Google LLC All rights reserved. Google and the Google logo are trademarks of Google LLC. All other company and product names may be trademarks of the respective companies with which they are associated.

