Checkpoints
Enable APIs
/ 25
Create a new chat app
/ 25
Enable voice calls
/ 25
Enable conversation history
/ 25
Generative Chat App with Vertex AI Agent Builder and Dialogflow
Overview
What you'll build
In this lab, you'll use Data Store Agent functionality in Vertex AI Agent Builder to build, configure, and deploy a virtual agent that can assist customers who have questions about products and devices in the Google Store, including phones, watches, laptops, smart home devices, and other consumer devices.
What is Data Store Agent?
A Data Store Agent is a feature within Vertex AI Agent Builder that is built on top of functionality in Dialogflow CX.
With a Data Store Agent, you can provide a website URL, structured data, or unstructured data, then the Data Store Agent parses your content and creates a virtual agent that is powered by data stores and large language models. Your customers and end users can then have conversations with the agent and ask questions about the content. Refer to the Data Store Agent documentation for more information.
Objectives
In this lab, you will learn how to perform the following tasks:
-
Use Data Store AI Agent to create a virtual agent
-
Add websites to your agent's data store
-
Enable voice and chat experiences for your agent
-
Test your agent and simulate customer questions
-
View conversation history and analytics for your agent
Setup and requirements
In this task, you use Qwiklabs and perform initialization steps for your lab.
For each lab, you get a new Google Cloud project and set of resources for a fixed time at no cost.
-
Make sure you signed into Qwiklabs using an incognito window.
-
Note the lab's access time (for example,
and make sure you can finish in that time block.
-
When ready, click
.
-
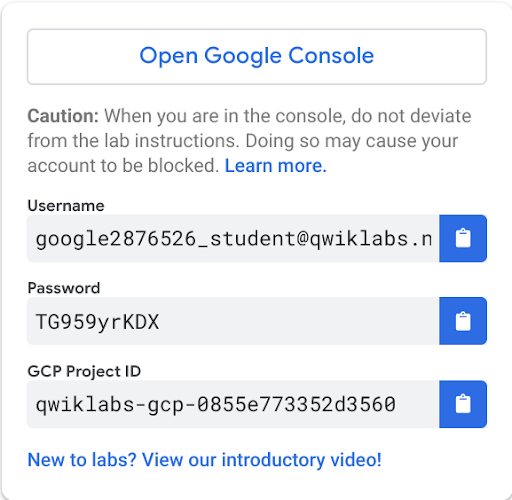
Note your lab credentials. You will use them to sign in to the Google Cloud Console.
-
Click Open Google Console.
-
Click Use another account and copy/paste credentials for this lab into the prompts.
- Accept the terms and skip the recovery resource page.
Google Cloud console
After you complete the initial sign-in steps, the project dashboard appears.
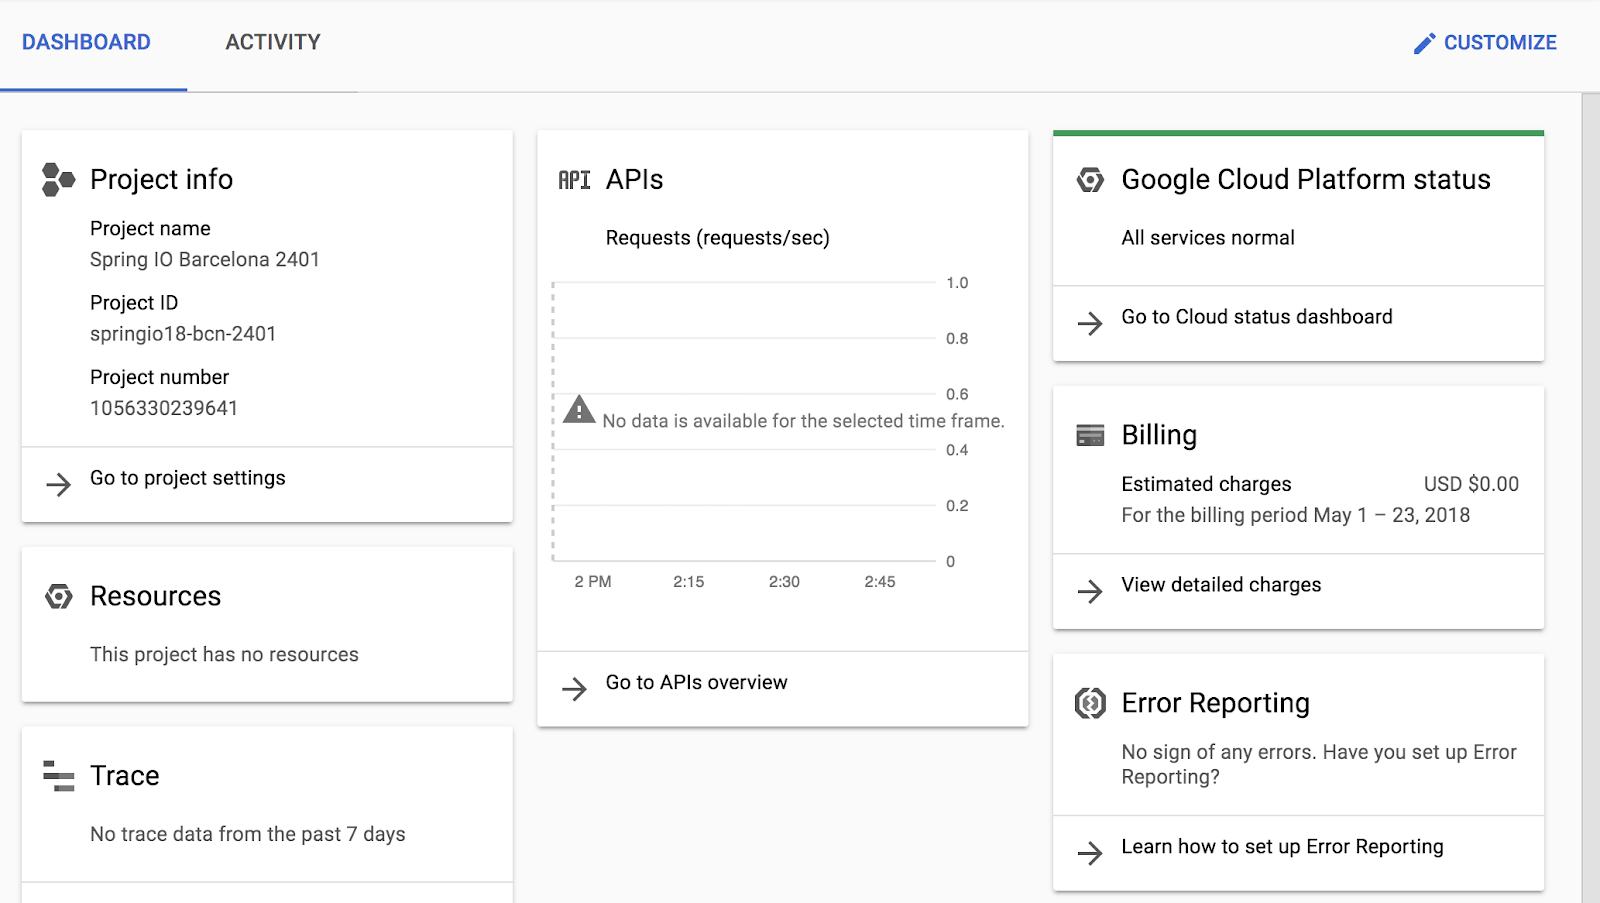
- Click Select a project, highlight your
Google Cloud project ID, and click OPEN to select your project.
Activate Cloud Shell
Cloud Shell is a virtual machine that is loaded with development tools. It offers a persistent 5GB home directory and runs on the Google Cloud. Cloud Shell provides command-line access to your Google Cloud resources.
In the Cloud Console, in the top right toolbar, click the Activate Cloud Shell button.

Click Continue.

It takes a few moments to provision and connect to the environment. When you are connected, you are already authenticated, and the project is set to your PROJECT_ID. For example:

gcloud is the command-line tool for Google Cloud. It comes pre-installed on Cloud Shell and supports tab-completion.
You can list the active account name with this command:
(Output)
(Example output)
You can list the project ID with this command:
(Output)
(Example output)
Task 1. Enable APIs
Before you can start using a Dialogflow AI Agent in Vertex AI Agent Builder, you need to enable the Dialogflow as well as the Vertex AI Agent Builder APIs. These APIs should already be enabled for this lab, but you should verify this before moving forward.
Enable the Dialogflow API by doing the following steps:
-
In your browser, navigate to the Dialogflow API Service Details page.
-
If the API is not already enabled, click the Enable button to enable the Dialogflow API in your Google Cloud project.
To enable the Vertex AI Agent Builder API, follow these steps:
-
In the Google Cloud console, navigate to the Vertex AI Agent Builder console.
-
If asked, read and agree to the Terms of Service, then click Continue and activate the API.
Click Check my progress to verify the objectives.
Task 2. Create a new chat app
Now, you'll create a new chat app for your virtual agent and configure it with a data source. The purpose of the agent that you'll build is to assist customers who have questions about products in the Google Store.
You'll use the Vertex AI Agent Builder console and Dialogflow CX console to perform the remaining steps in this lab to create, configure, and deploy a virtual agent that can handle questions and answers using a Data Store Agent.
-
To create a new chat app in Vertex AI Agent Builder, you can either:
a. In the Google Cloud Console, navigate to the Vertex AI Agent Builder console, then click +New app near the top of the console under your project ID, or
b. Navigate to the Dialogflow CX console, click +Create new agent and then select the Auto-generate option. You'll be redirected to the Vertex AI Agent Builder console.
-
From the Vertex AI Agent Builder, select Chat as the type of app that you want to create.
-
Input a Company name of
Google Store. This parameter is used to define the company that your agent represents and the scope of your agent. -
Specify an Agent name of
Google Storeand the location of your agent should beMulti-region. -
Select
global (Global)from the drop down of Multi-region. -
Click Continue.
-
On the next page (for Data) click Create new data store.
-
Select Cloud Storage as the data source for your data store.
-
Specify the following Google Cloud Storage folder that contains sample data for this codelab, and note that the
gs://prefix is not required:cloud-samples-data/dialogflow-cx/google-store -
Select Unstructured documents as the type of data you are importing.
-
Click Continue
-
Specify a Data store name of
Google Store. -
Click Create to create the data store.
-
In the list of data stores, select the newly created
Google Store. -
Click Create to create your chat app.
Congratulations! You have finished building your knowledge-powered chat app that's ready to help your customers, so take a moment to celebrate!
But there's still more work to do to make the bot accessible to your users. In the next section, you'll test your virtual agent and see how good it is at answering user questions about various products in the Google Store.
Click Check my progress to verify the objectives.
Task 3. Test your virtual agent
Testing is an important part of working with conversational agents to find bugs, identify limitations, and simulate a customer experience. You can start an interactive session with your chatbot to see how it responds to various questions that a customer might ask.
-
From the Vertex AI Agent Builder console, click the name of your chat app, which will redirect you to the Dialogflow CX console for further testing and customization.
-
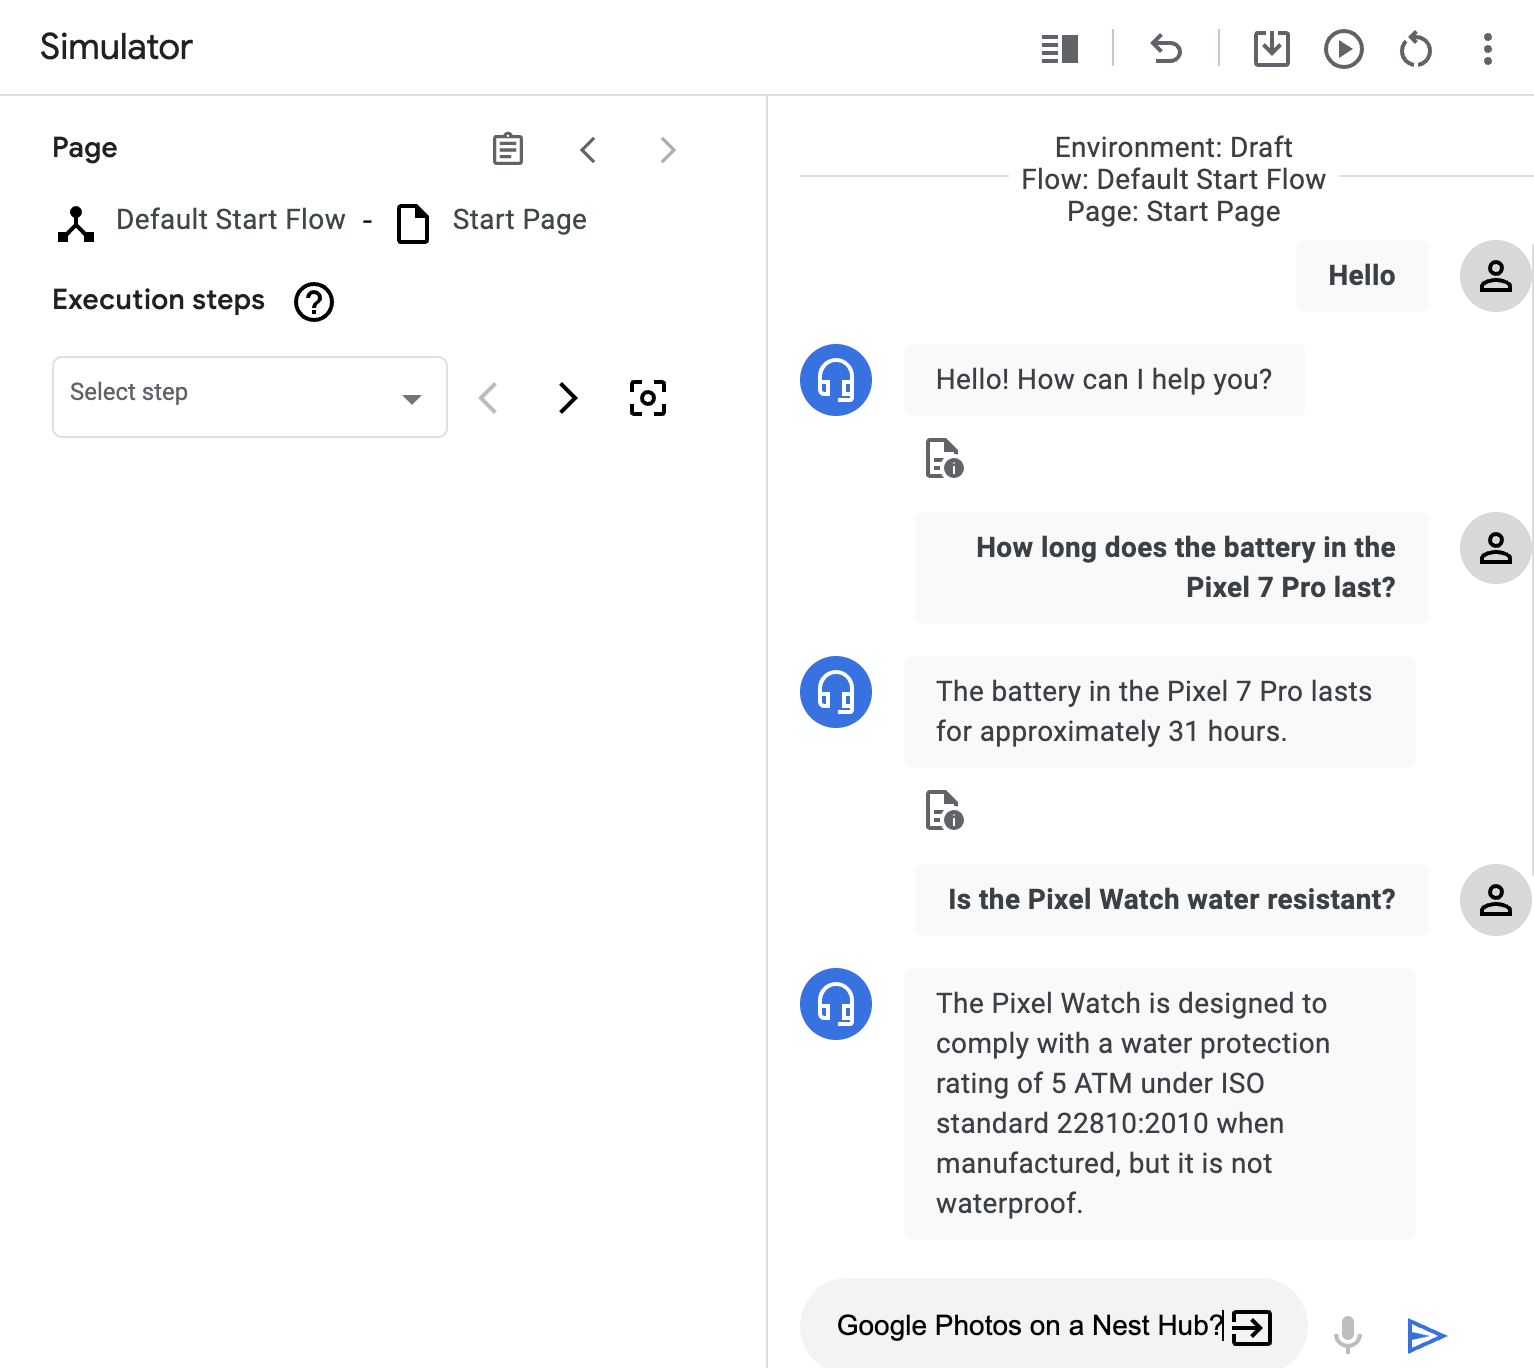
In the Dialogflow CX console and from within your agent, click Test Agent to open the Simulator.
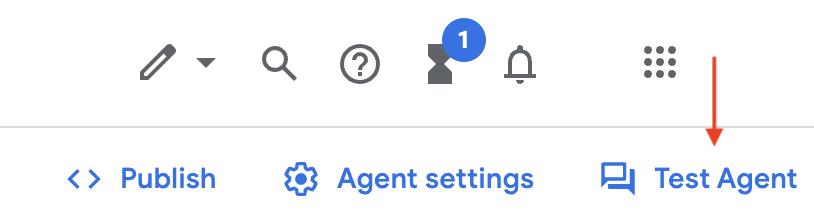
-
Type a greeting to your agent such as
Hello. -
Ask the agent some questions about various products such as:
-
How long does the battery in the Pixel 7 Pro last? -
Is the Pixel Watch water resistant? -
Can I display my Google Photos on a Nest Hub. -
Ask other questions about doorbells, thermostats, smart lighting, or other devices in the Google Store.
Great work! Notice that your virtual agent knows quite a bit about different products in the Google Store since it ingested information from the root domain that you specified earlier. Refer to the documentation for the agent simulator to learn more about testing your agent.
Task 4. Enable voice calls
Now that you've tested your agent and are happy with its current level of functionality, you can add a phone gateway to your bot, which will make use of the Speech-to-Text and Text-to-Speech capabilities in Google Cloud.
-
In the Dialogflow CX console and from within your agent, click the Manage tab in the sidebar, then click Integrations.
-
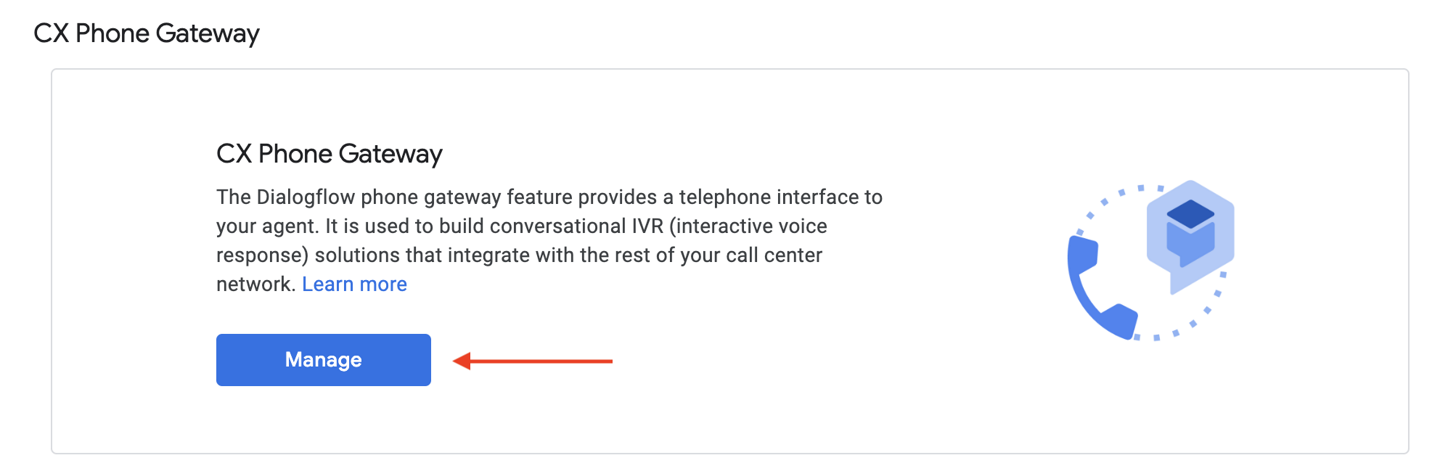
Click Manage under the CX Phone Gateway section at the top of the Integrations page.
-
On the Phone numbers page, click Create New to start the process of creating a new phone number for your virtual agent.
-
Select a country code and click Request to continue to the next step.
-
Select one of the phone numbers that appears, input a display name, then click Save.
-
Call your agent using the selected phone number from your own phone and ask it some questions!
-
Do the Pixel 7 Pro and Pixel 7 both have face unlock? -
What coverage does Preferred Care provide for a Pixelbook Go laptop? -
Do the Pixel Buds Pro have active noise cancellation? -
Ask other questions about doorbells, thermostats, smart lighting, or other devices in the Google Store.
-
Congratulations, you gave your virtual agent its own phone number and voice! Refer to the documentation for Dialogflow CX Integrations for more information on other available voice integrations.
Next, you'll integrate a chat messenger for your virtual agent into an external website.
Click Check my progress to verify the objectives.
Task 5. Enable chat widget
Now that your bot has a phone gateway for voice interactions, let's embed a chat widget on a website so customers can chat with it in addition to making a phone call to speak with it.
-
In the Dialogflow CX console and from within your agent, click the Manage tab in the sidebar, then click Integrations.
-
Click Connect under Dialogflow Messenger in the Text Based section of available integrations.
-
Click Enable the unauthenicated API in the dialog.
-
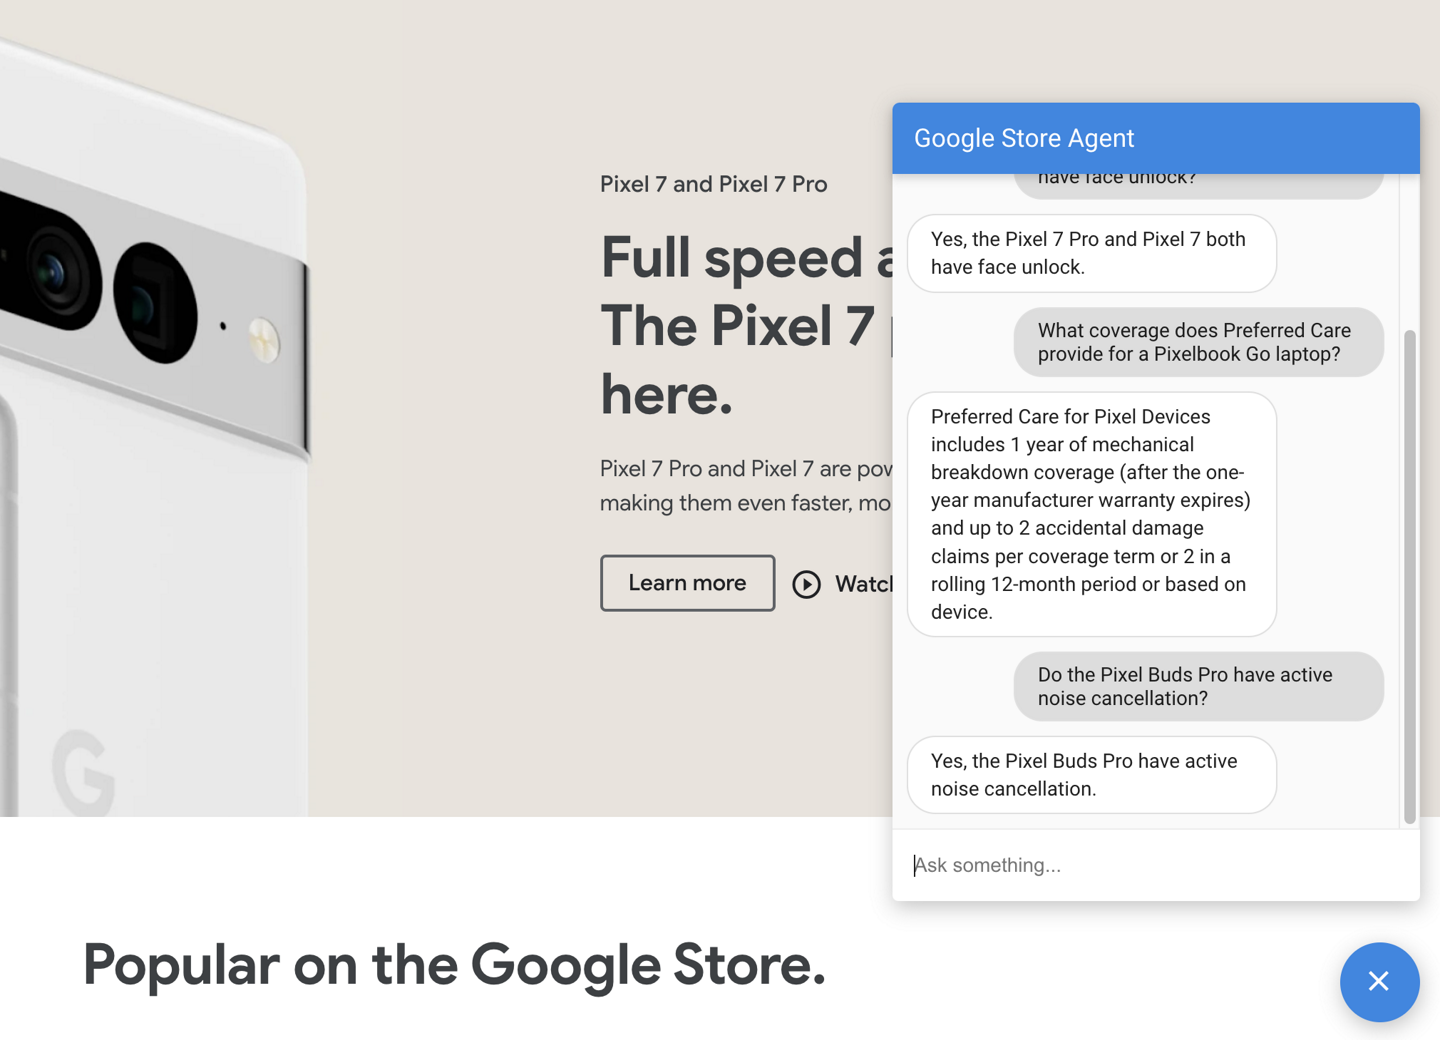
Click Try it now and then click on the Dialogflow Messenger icon on the bottom-right of your window to expand the Dialogflow Messenger application.
-
Test and chat with your virtual agent! Here are some sample questions to ask:
-
Do the Pixel 7 Pro and Pixel 7 both have face unlock? -
How does Preferred Care relate to a Pixelbook Go laptop? -
Do the Pixel Buds Pro have noise cancellation? -
Ask other questions about doorbells, thermostats, smart lighting, or other devices in the Google Store.
-
Now your virtual agent can now handle questions and answers from your customers via chat or voice, whichever they prefer! For more information on other available chat integrations, refer to the documentation for Dialogflow CX Integrations.
Task 6. Conversation analytics
When testing your virtual agent, if you find that your bot's answers do not meet your expectations, you can always add more URLs to the data store to improve how your bot handles questions and answers.
Other than testing many different paths that customers might take, how else can you determine where the problems and friction points are in your virtual agent? Conversation history and analytics can help!
-
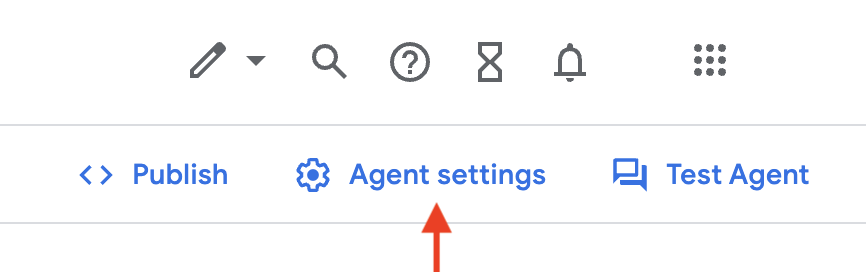
In the Dialogflow CX console and from within your agent, click Agent settings in the menu.
-
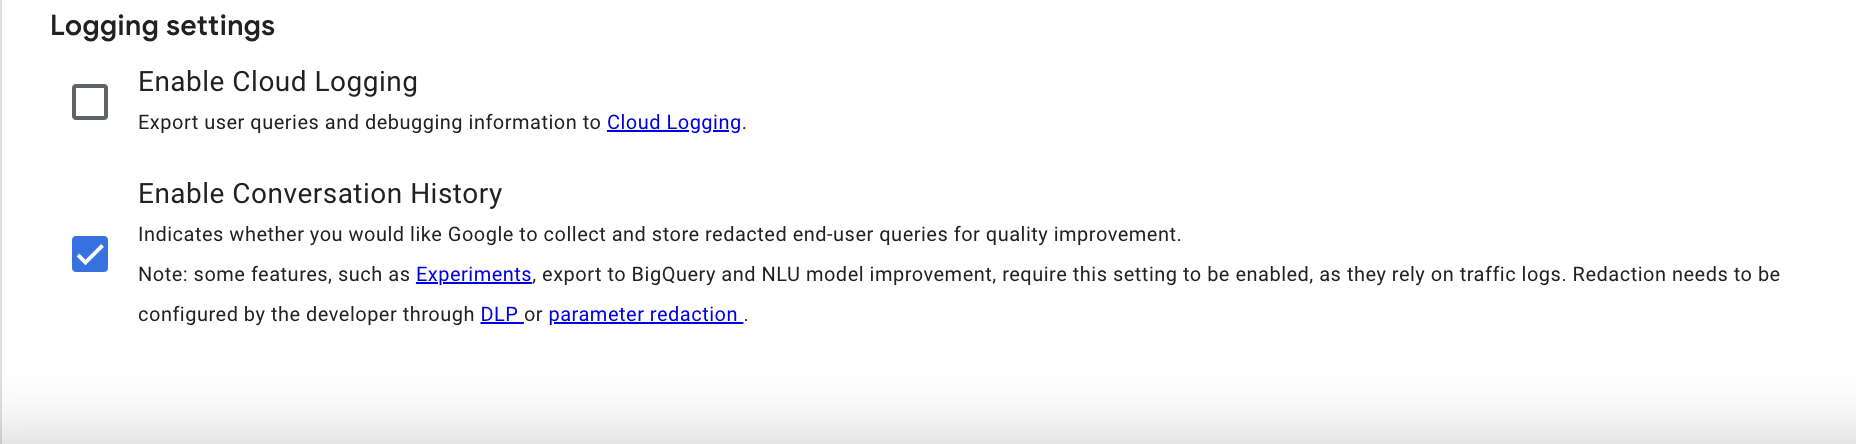
Under Logging settings, select the option to Enable Conversation History. Click the Save button.
-
Have a conversation with your bot via the agent simulator, voice integration, or chat integration, and ask it some questions.
-
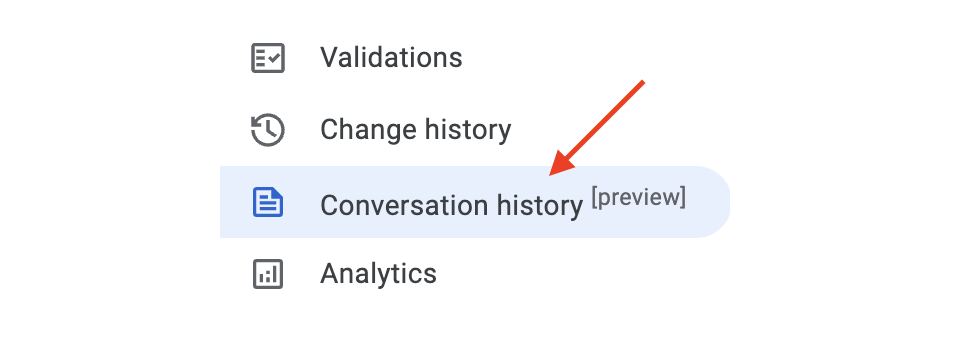
After you end the conversation with your agent, in the Dialogflow CX console and from within your agent, click the Manage tab in the sidebar, then click Conversation history.
-
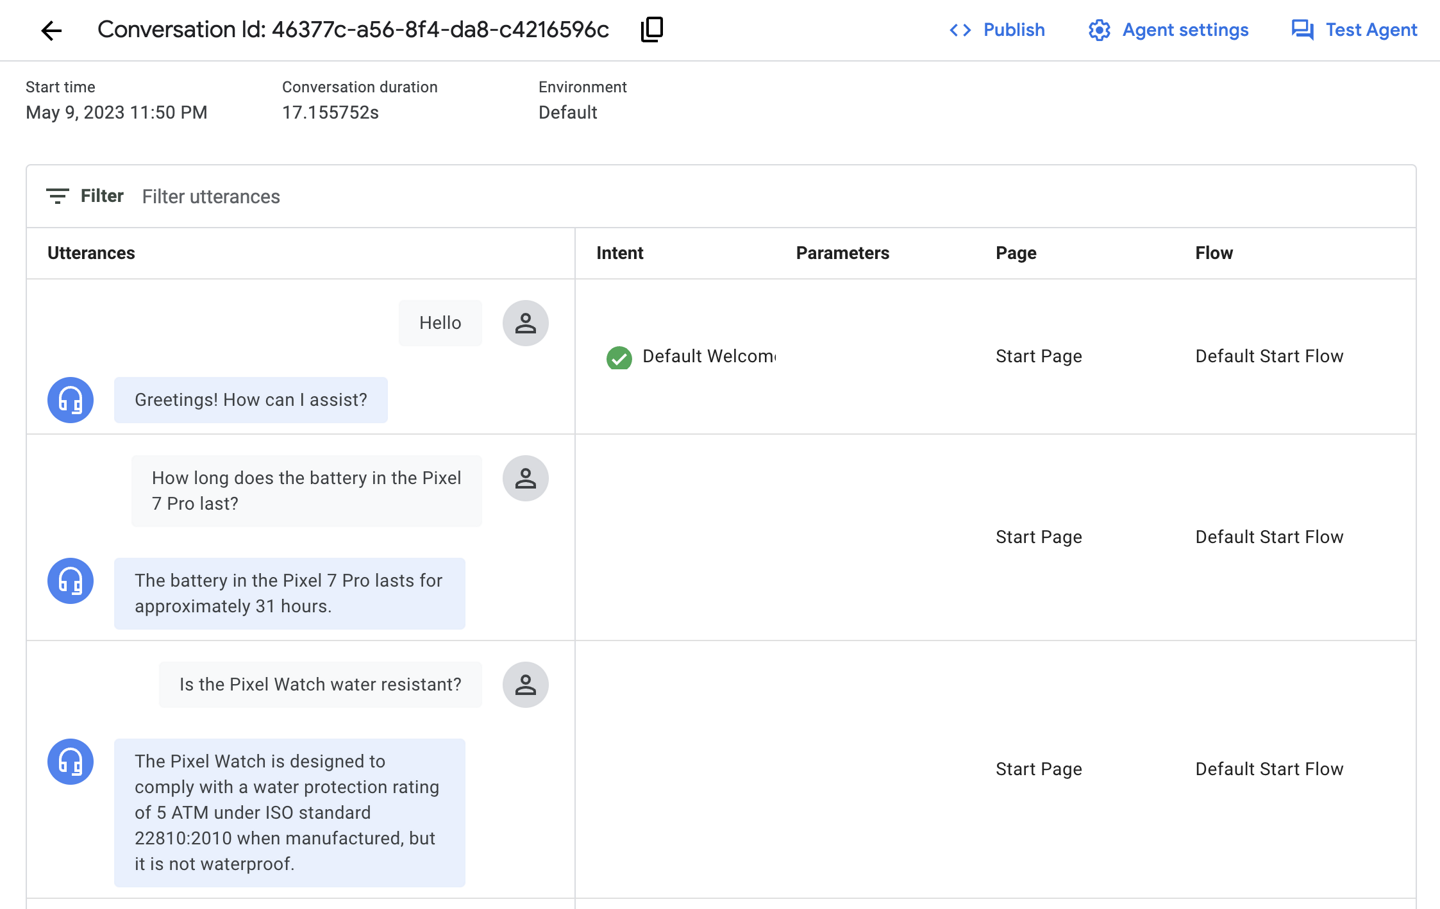
Click one of the recent conversations, then review the conversation and note the duration of the conversation, the responses that were given by the agent, and which intents were matched along the way.
-
In the Dialogflow CX console and from within your agent, click the Manage tab in the sidebar, then click Analytics.
As customers interact with your agent, this page will show a summary of various statistics related to agent requests and responses.
Great! Now you know how to look into specific conversations in more detail and review other metrics related to your agent responses and customer interactions. Refer to the documentation for conversation history and conversation analytics for more information on evaluating performance and viewing metrics for your agent.
This data helps you assess how your agent is being used in production and can be used to determine which websites and documents you might want to add to your knowledge base to improve your agent and customer experience.
Click Check my progress to verify the objectives.
Congratulations!
By using Data Store AI Agent in Vertex AI Agent Builder and Dialogflow CX, you've successfully created a virtual agent, added data sources, and deployed a voice-enabled and chat-enabled agent to help your customers!
Your virtual agent can answer hundreds of different questions about products in the Google Store, and you didn't have to go through the manual process of creating a large number of intents, training phrases, response messages, etc.
Feel free to try out other data types in your data stores and explore the other functionality available related to Vertex AI Agent Builder and Dialogflow CX.
Learn more
Continue learning about conversational AI and generative AI with these guides and resources:
Google Cloud Training & Certification
...helps you make the most of Google Cloud technologies. Our classes include technical skills and best practices to help you get up to speed quickly and continue your learning journey. We offer fundamental to advanced level training, with on-demand, live, and virtual options to suit your busy schedule. Certifications help you validate and prove your skill and expertise in Google Cloud technologies.
Manual Last Updated January 30, 2024
Lab Last Tested January 30, 2024
Copyright 2023 Google LLC All rights reserved. Google and the Google logo are trademarks of Google LLC. All other company and product names may be trademarks of the respective companies with which they are associated.